Birds nest fern make fantastic house plants. They’re green, semi-slow growing and usually accustomed to lower light conditions. The bird’s nest fern is a common growing plant, usually found in rainforests.
With intricate leaves and very little care needed, they’re great for growing indoors. Need a new houseplant? Here’s everything you need to know to grow, care for and cultivate the bird’s nest fern.
More...
What is Birds Nest Fern?
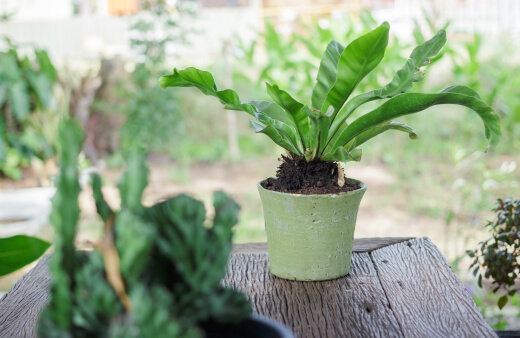
Asplenium nidus, or the bird’s nest fern, is a commonly cultivated plant that grows naturally in the rainforests or tropical areas in Asia, Australia, Madagascar, Hawaii and Polynesia.
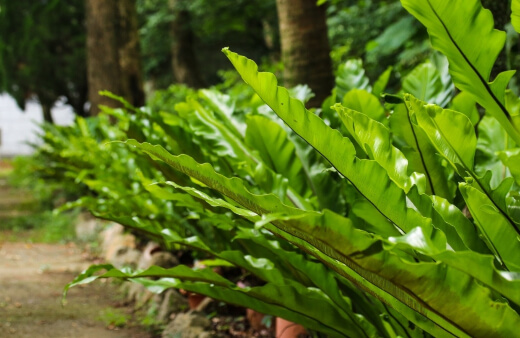
As with most fern’s, the bird’s nest fern has long trailing stems with bright, evergreen leaves. This cultivar has a variety of spoon-shaped fronds that extend from a rosette centre, often giving it the appeal of a nest.
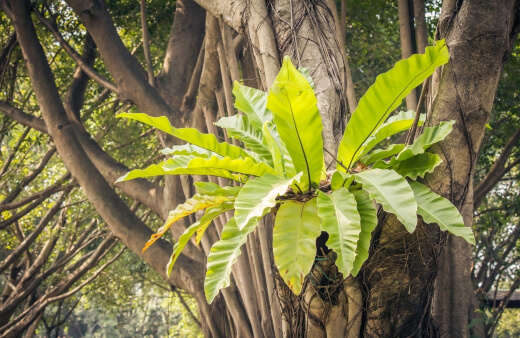
The bird’s nest fern is an epiphyte, meaning it is usually found growing on other trees, particularly palm trees. As such, it’s pretty adaptable and used to partial or even complete shade. It’s also fuss-free, so always a good option for beginner growers, although you will need to ensure it’s getting enough moisture.
Is Bird’s Nest Fern an Indoor Plant?
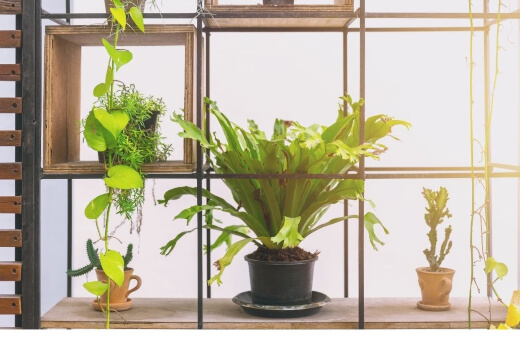
Ferns are often an excellent choice for indoor environments. The Bird’s Nest Fern is usually preferred as it’s a wonderfully leafy, potted plant and can adapt to low-light conditions.
As it’s naturally used to growing beneath the canopy of other trees, this plant won’t need much direct sunlight, if any.
More so, bird’s nest ferns are a very popular option as they are non-toxic for humans, cats and dogs, alike. (Refer to this guide for more non-toxic plants for pets).
This plant is perfect for container growing, affixed to planks, as terrarium plant, or even on a vertical plant wall.
Outdoors this cultivar can grow as large as 1.5 metres long. However, this plant is slower-growing indoors and will only reach 60 cm in length, depending on the conditions.
The most famous varieties for indoor use include:
- Asplenium nidus 'Crispy Wave' – With long, sword-shaped leaves.
- Asplenium nidus 'Osaka' – With narrow, rippled leaves.
- Asplenium nidus 'Victoria' – With tongue-shaped fronds.
How Do You Grow Birds Nest Plant?
Birds nest plants are usually readily available from most garden centres or nurseries. However, you can also propagate new plants from spores.
Propagating Birds Nest Fern
Spore propagation is the best method. It will, however, take quite a bit of patience and care to get right.
In order to obtain spores, you will need to remove a healthy, mature leaf from an existing plant. You’ll notice brown, bubble-like formations on the underside of the leaf. These are the spores. You will have to wait to extract them.

Get Your Free Guide:
Master Growing Australian Natives eBook
A Must Have Complete Guide for Every Australian Garden
Get Your Free Guide:
Master Growing Australian Natives eBook
A Must Have Complete Guide for Every Australian Garden
Simply:
Take the mature leaf and place it into a paper bag. Keep the bag in a warm environment.
- After a day or two, the spores should begin to fall off into the bag.
- Place the spores under a glass or plastic dome, keeping them warm and moist. Germination will take about 2 weeks.
- Remove the spores from under the glass and place them onto a moist, sterile peat mix.
Another great way to propagate smaller fern plants is through means of division. Simply shake the roots loose from the soil and very gentle tussle them apart to create 2 or 3 smaller segments. After that, plant into a fresh potting mix to root.
What Soil is Best for Birds Nest Fern?
Being an epiphyte, the birds nest fern isn’t overly picky. You will want to ensure that you choose a well-draining medium, with coconut coir and rich organic matter.
How Much Sun do Asplenium nidus Need?
Partial or even full-shade will work when growing Asplenium nidus. The best spot is near an east or north-facing window, where it will either get a little bit of morning sunlight or at least a good amount of indirect light.
Full sun conditions are not recommended, and it will scorch your leaves and cause your soil to dry out too quickly.
Bird's Nest Fern Care
These plants enjoy ample warmth, humidity and moisture. You’ll want to make sure you keep your watering as consistent as possible, never letting your top layer of soil dry out too much.
Boost your humidity and moisture by keeping your fern near a humidifier or placing your pot on top of a pebble tray.
When watering, avoid pouring water straight into the rosette centre. Moisture often struggles to evaporate in the centre, and it can become a breeding ground for mould and disease.
A balanced fertiliser can be added to the watering mix during the growing season (spring and summer). It’s essential to choose a water-soluble fertiliser and to withhold fertilisation during the cold months.
When handling your birds nest fern, always take extreme care. The fronds can be very fragile, so it’s always a good idea to keep your birds nest fern in the same spot for as long as possible.
How Often Should You Re-Pot?
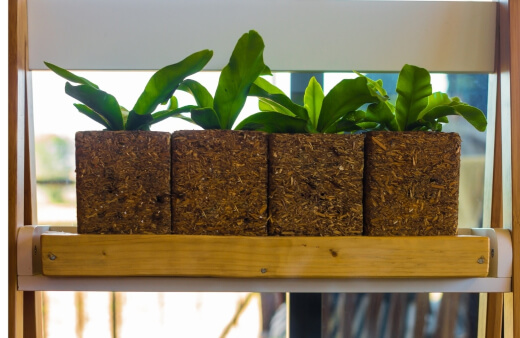
Birds nest ferns do quite well inside smaller pots, so re-potting won’t need to be done. On average, you can consider re-potting every 2 to 3 years just to replenish the soil.
Overgrown ferns should also be re-potted. If the roots become too cramped within the pot, it will stunt foliage growth. This does take an incredibly long time, depending on the pot.
When re-potting, simply:
- Shake the roots loose from the soil.
- Make a hole in a fresh, rich potting mix and carefully place the root ball into the new pot.
- Backfill with soil.
- Take care not to waterlog the soil while rooting.
Pests, Problems & Diseases
Pests are not a large issue with these types of plants; however, they can develop minor problems with common houseplant issues, such as scale and mealybugs.
When treating these issues, ensure you only use natural remedies. Ferns are highly susceptible to chemicals, and they may kill off your plant. Consider neem or natural insecticidal oil.
Other common issues include:
- Pale Green Leaves. This is usually a result of dried out soil and underwatering. To quench your ferns thirst, increase your watering to more regularly.
- Yellowing Lower Leaves. Yellowing of leaves is usually a sign of an overly wet potting mix or some instances, too much direct sunlight. Consider cutting back on water or moving it to a new spot.
- Brown Crispy Leaves. Crispy leaves are a result of an immense amount of moisture or humidity. Move your plant to a slightly lighter spot and cut back on the amount of water. If the soil is extremely waterlogged, consider re-potting.
Some Final Tips for Growing Birds Nest Fern
- Birds nest ferns grow pretty large when grown outdoors. It can be a great accent piece alongside taller trees.
- You can attach your fern to a log or board, but when it gets too big, it will need to be re-potted. If growing on a log, regular misting is a great way to maintain moisture.
- Ferns don’t require much pruning. However, you can do it to cut away any spoilt leaves or to maintain size.
- If growing in the garden, caterpillars are a very common issue. Again, only treat with a natural remedy.
- Sometimes birds nest fern leaves can feel sticky. This is called Honeydew and is a result of scale infestation.
When growing this delightful plant, just make sure you find the right spot and maintain enough moisture. Follow these tips and tricks, and you’ll be sure to have plenty of happily growing birds nest fern plants.
Published on April 27, 2021 by Gary Clarke
Last Updated on January 19, 2025

