Nothing can replace the fresh late summer flavour of an apple picked straight from the tree, but learning how to store apples is the next best thing.
Apples never keep for long in the fruit bowl, but they can last up to six months without cooking, preparation, or any other interventions if you know how to create the right environment.
In this article, we’re going to look at storage for apples long term, short term, and as cider. Plus, we’ll share the best apple varieties for storage too.
More...
How to Harvest Apples for Storage
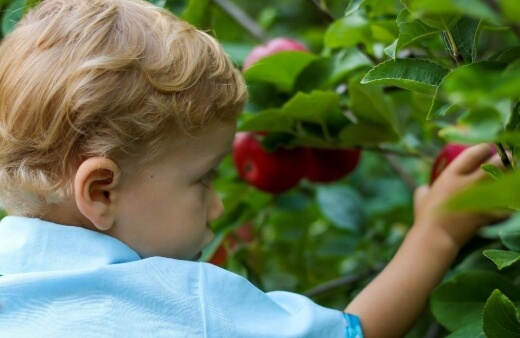
Before thinking about storing apples, it’s really important that you harvest them correctly first. Bruised apples will never store properly, so harvesting them gently, when they’re ready is essential.
Its best practice to prune apple trees so you can reach fruit from the ground, but the tools below will help you to harvest apples from mature or overgrown trees with minimal effort:
- Fruit pickers are really useful tools. They give you the ability to rock apples from their stems, rather than pull them. By picking a few apples at a time, and then lowering the picker to the ground you reduce the chance of damage.
- Fruit picking bags or aprons give you more control while you pick too. So if you have to climb the tree you can carefully carry up to 8lbs of fruit down with you without having to throw it down to someone else.
The other benefit of these aprons is for berry picking in fall, so you’ve got one hand to move prickly branches out the way, and another to pick with.
When to Harvest Apples
Apples are ready for harvest when they rock off the branch. Not only will pulling or twisting apples cause bruising to each apple, but it can bounce branches and cause an avalanche of apples to fall to the floor.
Apples are ready to harvest when you can simply rock them backwards and the stem breaks from the branch. Sometimes this comes with a leaf, sometimes not. It’s best to remove the leaf as this will rot in storage and cause apples alongside it to rot too.
Why do apples go bad?
Apples go bad for all sorts of reasons, but the most common reason entire crops can be lost is pest damage, so it’s absolutely essential you don’t try to store apples with bites, bruises, or holes as under those clues lies earwigs, worms, larvae, and eggs.
They can devastate crops in storage, moving from apple to apple as a food source. As well as pests, bruised apples create humidity as the bruises rot from the outside in, and the mushy apple that remains spreads moisture to its neighbours.
Different Ways to Store Apples
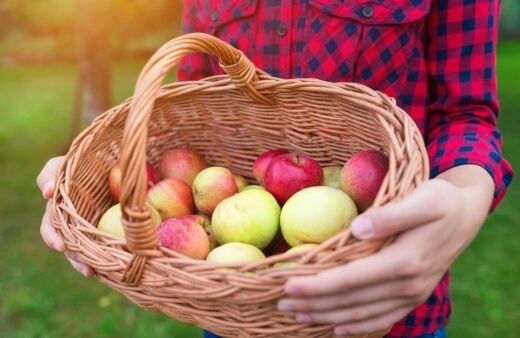
- Storing fresh apples
- Dehydrating apples
- Making cider
While storing fresh fruit is the best way to store apples, dehydrating and cider making can extend your harvest even further. I’m not a fan of cider, but homemade cider, harvested in autumn, and ready to crack open cold next summer is a glorious way to celebrate a good harvest.
Cider does take a few extra processes though, which we’ll cover below, but ultimately takes up less space in storage than dehydrated or fresh apples. Also, depending on the size of your tree, there are few apple storing hacks that will save you time and space.
For gardeners with small trees for example it’s probably not worth trying to store apples right through winter when there are good ways to store apples for up to two months anyway.
Short Term Apple Storage(1-2 months)
To store apples for one to two months, all you need are breathable bags and a fridge. What speeds up the rotting process of apples is heat and moisture, so keeping them cool is essential. Storing apples in a fridge, but away from moisture, can keep apples crisp for up to two months.
Simply place apples in a dry freezer bag, or brown paper bags, and keep them on a dishcloth in the fridge until needed. Change the dishcloth if it is ever moistened by humidity in the fridge.


Get Your Free Guide:
Master Growing Australian Natives eBook
A Must Have Complete Guide for Every Australian Garden
Get Your Free Guide:
Master Growing Australian Natives eBook
A Must Have Complete Guide for Every Australian Garden
How to Store Apples for Winter (4-6 months)
Storing apples for winter isn’t easy, and requires a few trips to the grocery store for cardboard boxes, but once you start, it becomes an annual ritual that’s hard to shake.
I’ve been storing apples for winter since I could walk, with my parents and grandparents using me as a distraction while they robbed the cardboard fruit boxes from supermarket shelves. If you can get the fruit trays that come inside the boxes, that’s even better!
Tools
- Newspaper (one sheet per apple)
- Cardboard storage boxes (preferably stackable)
- Cardboard sheets to separate layers
Method
- Harvest your apples without damaging or bruising them. If any are bruised or have signs of insects, discard or use them without storing them.
- Do NOT clean your apples. The waxy coating helps them in storage, and washing can cause bruising and adds unnecessary moisture to the storage boxes.
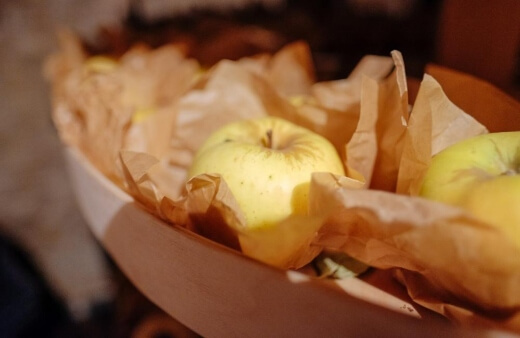
- Wrap every apple in a single sheet of newspaper.
- Place apples in a single layer in a cardboard box.
- If you have separator sheets, place a sheet over the first layer, then add a second layer to the box. If you don’t have separator sheets, stack the next box, and keep going until every box is stacked with just one layer of apples.
- Once all apples are wrapped up, put them all in a cool, dark, dry space with good ventilation. Use them when you need them.
- If you find a bad apple in storage after a few months, remove it, and check the apples around it, as bruising can spread.
The important principle here is that you’re providing a moisture barrier that separates apples from each other and regulates humidity, but allows them to breathe too.
It’s essential to use dry newspaper, and where possible, only ever stack in a single layer. Unless you have a breathable tray like the cardboard apple trays from grocery stores to place between the layers.
These apples can last up to a year in cool, dry, dark, well-ventilated spaces, but typically keep for four months even in sub-part conditions like a garden shed.
Best Varieties for Apple storage
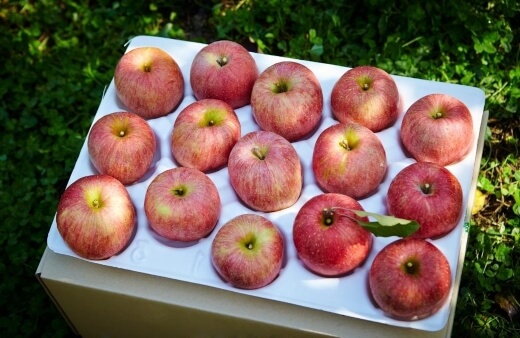
There is a massive difference between how well different varieties of apples store, and how long you can keep them before whole batches turn bad. The biggest clue to their viability for storage is their skins.
The second clue to how well apples store through winter is to look at the varieties you get in supermarkets. There’s a reason that crisp, rough-skinned varieties like Egremont are only ever available for a few months in autumn, but Gala are on the shelves all year round.
Waxy skinned apples store better, but equally, growing cooking varieties like Bramley can give you months or extra storage too. Below are our favourite varieties for apple storage (plus some information on varieties not to store at the end of the list!).
1. Granny Smith Apple
Storage: six months
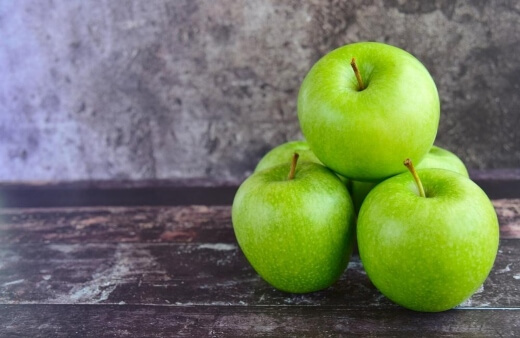
Granny Smith grows really well in Australia and can store up to eight months with temperature control, but in a standard garage it lasts around six months provided there is good ventilation.
Above all else, the advantage of granny smiths is that they retain their crisp, tart, flavour even after a few months in storage.
2. Howgate Wonder Apple
Storage: six months
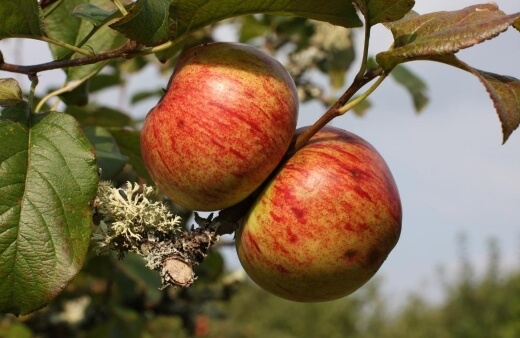
Howgate are the best red apples for storage, but they do lose their texture after about two months. If you’re more concerned by flavour, they tend to store well for six months with near full flavour, and because they’ve got relatively dry skins don’t suffer too much from mould in storage either.
3. Idared Apple
Storage: five months
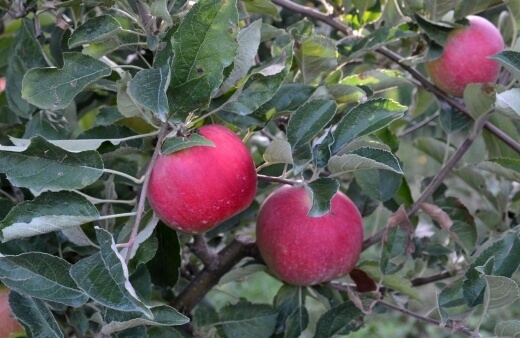
Idared are pretty rare in shops despite their outstandingly juicy qualities. They’re brilliant eating apples, and also make good cider if mixed up with something tart like crab apples, or with some added lemon juice (which helps keep a clearer colour to the juice too).
4. Winston Apple
Storage: five months
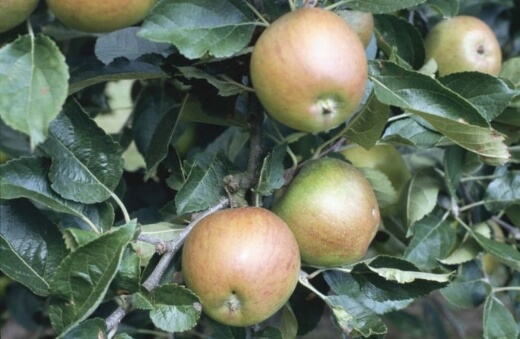
Source: rhs.org.uk
Winston apples are a rich, streaky red when fully ripe, but best picked slightly before ripening for the best possible storage time. They ripen well in storage but are easily controlled with newspaper and reasonable ventilation.
Even just in a box without wrapping, Winston apples last around two months.
5. Bramley Apple
Storage: four-five months
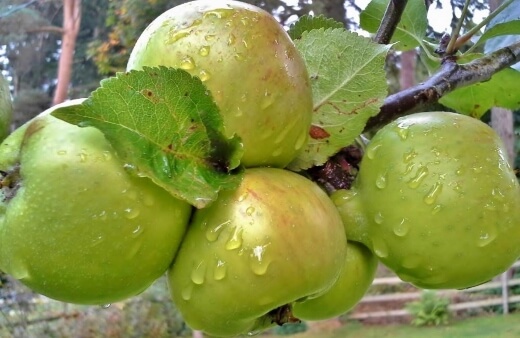
Bramley apples are the classic cooking apple. Perfect for baking on those long winter days when anything else in the garden has finished fruiting and you want nothing more than fresh produce.
The downside of Bramley apples is that when they bruise, they really bruise. The slightest bruise during harvest can ruin an entire crop as the bruising releases a chemical which turns other Bramleys brown.
Provided you’re careful and harvest a few at a time, Bramleys typically last for four months in storage, but can keep for up to six months if you can keep temperatures below 5 degrees.
6. Annie Elizabeth Apple
Storage: four-five months
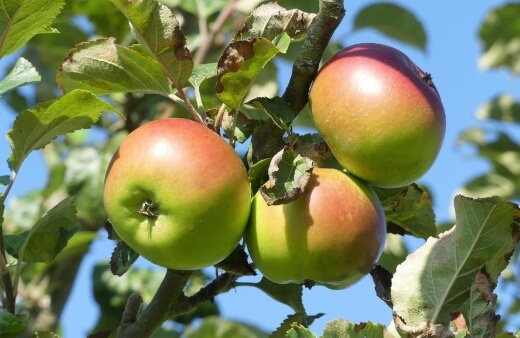
Annie Elizabeth is another apple that you won’t often see in shops. Their trees can cope with fluctuating temperatures but need to be kept well-watered in summer to produce the best fruit harvest.
Annie Elizabeth is a variety of cooking apples with a slightly sweeter flavour than Bramley, so often mistaken for a tart eating apple, so be careful – too much can really turn your stomach if you eat them raw.
7. Tydeman’s Late Orange Apple
Storage: four months
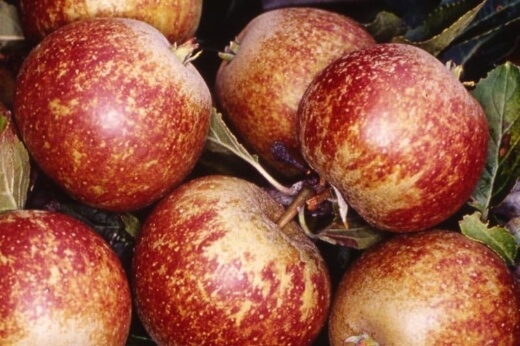
Tydeman’s go against the grain of storage apples, as they have a distinctly rough texture more like Egremont russets. Their tart flavour works well in cooking but they are a true eating apple and last up to four months in storage with a decent layer of newspaper around each apple.
8. Braeburn Apple
Storage: four months
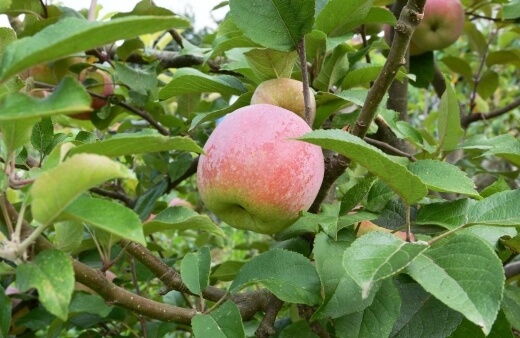
Braeburn is the closest apple you can get to a Gala that keeps for longer than three months, with a sweet flavour that has a distinct tart aftertaste. Their drier texture keeps well and helps prevent them from rotting and over humidifying in their storage wrappings.
Apple Varieties that Don’t Store Well
If you do want to store fresh apples using the newspaper method, there are a few varieties that just aren’t worth trying. Russets, like Egremont and a few other varieties including Discovery and Scrumptious, in particular, only keep for one or two weeks after picking.
Anything longer than that and texture and flavour become incredibly dry and crystallised. Lord Lambourne and Greensleeves don’t store well, but if you have trees in your garden, the best way to keep them fresh is to keep them on the tree for as long as possible.
Feed your trees with calcium by mixing eggshells into an annual mulch to help them retain fruit. Even after they are fully ripe they can stay fresh on the tree for up to a month.
Alternatives to Apple Storage (and Methods)
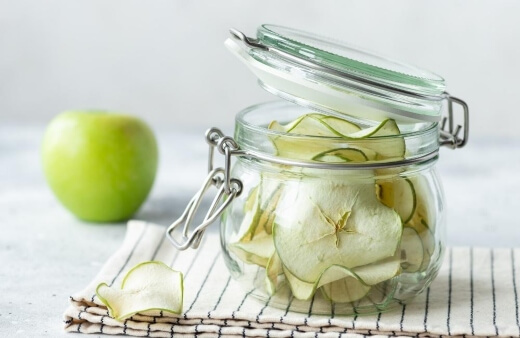
Dehydrating Apples
If you don’t have enough space to store fresh apples through winter and spring, it’s worth looking into dehydrators. Kitchen dehydrators are great for drying fresh fruit and produce from the garden so you’ve got home-grown snacks all year round.
One big advantage of dehydrating apples for storage is that you can store bruised fruit, windfalls, and damaged apples just as successfully as unblemished apples.
Note: Dehydrated fruit has all the nutrients of fresh fruit, but does lose some flavour.
Tools
- Dehydrator - Check out our Dehytray dolar dehydrator review
- Sharp knife
- Large mason jars
Method
- Slice your apples until you have even, single, layers to fill all the shelves of your dehydrator. Don’t overfill the trays.
- Turn on your dehydrator (some models have specific settings for different fruits, while others just need to be checked every thirty minutes).
- While apples dehydrate, sterilise jars:
- Wash jars with soapy water
- Rinse
- Bake jars and lids in the oven for 5-10 minutes on gas mark 4
- Remove when all moisture has evaporated
- When apples finish dehydrating, add them straight into the jars and close the lids.
Dehydrated apple slices last for up to six months with good texture, but are safe to eat for up to a year.
Making Cider from Windfalls
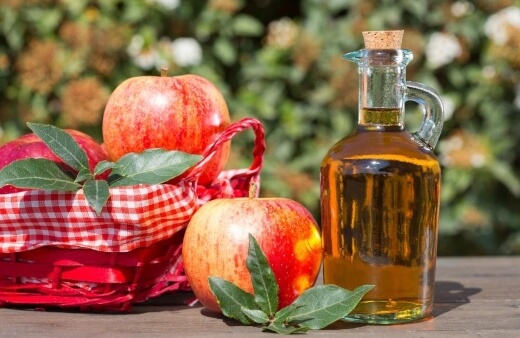
Cider can be really sickly when it’s made from the wrong apples, but no matter what tree you have, you can make cider from any apple, and it is (by a very big margin) the best way to store apples for the longest time. The alcohol, sterilised bottles, and removal of fibre means that cider can keep for years before going bad.
The only downside of making your own cider is that it can (and often does in our case) taste completely awful because it’s the last option available for using up windfalls, which are often overripe, too sugary, and not nearly bitter enough to make a good crisp cider.
But, don’t let me put you off. If you’ve got a good apple tree, like Bramley, or any bitter cooking apple, you can get gorgeous cider from windfalls, or fresh unblemished apples.
Disclaimer: this makes a very basic cider, and cuts a lot of corners for DIY apple growers!
Tools
- Drill & Macerator bit (OR a freezer)
- Apple press
- Bucket with lid
- Wooden spoon
- Rubber gloves
- A funnel
- Demijohn or second bucket
- 5lbs of apples
- 1lb of sugar
- 1 tsp of yeast
- 6 pints of cold water
- Plastic bottles with screw caps.
Method
- Freeze, or mash 5lbs of apples. Freezing apples does the same job as mashing them but obviously takes longer. To save time, place a macerating drill bit into your power drill, and place all your apples in the bottom of a bucket.
- Once your apples are mashed or defrosted, add 1lb of sugar to the mix, along with 6 pints of cold water.
- Mix well, then sprinkle a teaspoon of yeast over the surface (you can use half a teaspoon, or a tablespoon – yeast doubles in the bucket every day, so will quickly even out).
- Using a wooden spoon, agitate the mixture, then place a tight lid over the bucket, and leave overnight.
- Find somewhere that stays at roughly room temperature so the yeast can multiply.
- Stir again in the morning. There should be condensation on the outside of the bucket.
- Stir like this once a day, for a week, and clean the lid and around the rim with clean paper towels to remove any bad bacteria.
- After the fourth day, there should be some fizzing. Time for a taste test!
- If it is too sour, add more sugar to taste (add a maximum of two tablespoons per day over the next week). This helps to feed the developing yeast prior to fermentation too.
- After a few days, if the flavour is about right, leave it undisturbed for 2-3 weeks. This allows sediment to sink to the bottom.
- Put on CLEAN washing up gloves, and fish out any big bits of apple skin or pulp that are still hanging around the bottom of the bucket. You can sieve it, but this tends to take a while and can make your cider turn a dusty brown in the process.
- Funnel the liquid into a demijohn, or a second bucket with a good air gap at the top. Now leave it for two weeks for fermentation. Demijohns are better as they allow expansion, but for a DIY job, use what you have!
- After the rest of the sediment has dropped, carefully pour the liquid into sterilised plastic bottles. When fizzing stops, screw on the lid.
- It should keep in these bottles for several years, but will continue fermenting for a while, so store it somewhere you don’t mind getting covered in exploded cider!
Storage for Apples Frequently Asked Questions
What is the best temperature for storage for apples?
Apples store best below 5C, but anything under 10C is adequate. We usually store ours at between 10-12C and they will usually last for over four months. Ventilation is more important than the temperature for storing apples.
Do apples last longer in the fridge?
Whether you’re storing apples fresh from the tree, or apples from the grocery store, apples last better at lower temperatures, so cool fridges help apples last longer.
The advantage of storing apples on the counter is the lower humidity, but a good quality fridge is perfect.
What should you not store with apples?
Apples are best stored by themselves. Keeping other harvests in the same boxes will ripen them too quickly and lead to a big batch of rotten fruit and vegetables. Bananas and squashes in particular will speed up ripening.
Can you store apples outside?
Apples need good ventilation, low light, low humidity, and cool temperatures, so are best stored in a shaded, unheated shed or garage.
If you have no indoor space for storage, make sure apples are covered and kept away from heat or moisture as much as possible. Apples stored outside won’t last as long as apples stored inside.
Wrapping Up Our Storage for Apples Guide
There are all sorts of ways when it comes to storage for apples, whether they’re fresh, crisp, and clean from the tree or bruised and beaten from the floor.
For us though, there’s no comparison to a properly stored fresh apple, unwrapped from their newspaper in spring and ready to eat. However you choose to store apples over winter, take your time and enjoy it.
Wrapping apples is truly cathartic, and making cider is loads of fun (but your first attempt might be a memorable disaster!).
Published on June 16, 2022 by Gary Clarke
Last Updated on September 20, 2025


