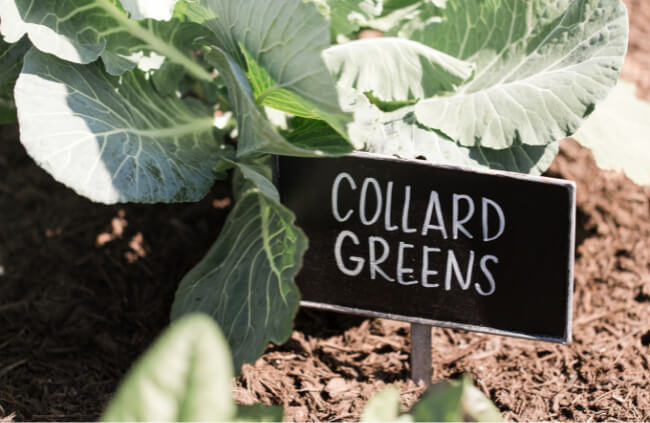
Collard greens are related to kale and cabbage, which should already give you an idea of their benefits and nutritional value. The word ‘collard’ comes from the Middle English word ‘colewort’ and the translation is ‘cabbage plant’. Collard greens are the oldest member of the cabbage family.
Our guide features all you need to know about introducing collard greens to your own garden. Learn about some of the popular varieties, how you can propagate the plant from seed, and what kind of care will keep your plant happy.
We also talk about the culinary uses of collard greens, including how to harvest them for use in your own kitchen.
More...
Family: | Brassicaceae |
|---|---|
Genus: | Brassica |
Species: | B. oleracea var. viridis |
Common Names: | Collards, collard greens, tree cabbage |
Origin: | Mediterranean and Asia |
Location: | Indoor and outdoor |
Type: | Vegetable |
Growth: | Up to 90 cm tall and wide |
Sun requirements: | Full sun, part shade |
Foliage Colour: | Green |
Flower Colour: | Yellow |
Flowering: | Spring |
Edible Parts: | Leaves and flowers |
Maintenance level: | Low |
Poisonous for pets: | No |
Introducing Collard Greens
Collard greens are a group of loose leaf vegetables and are related to cabbage, broccoli, and kale. People have been enjoying collard greens for more than 2000 years and this plant was cultivated by the ancient Greeks.
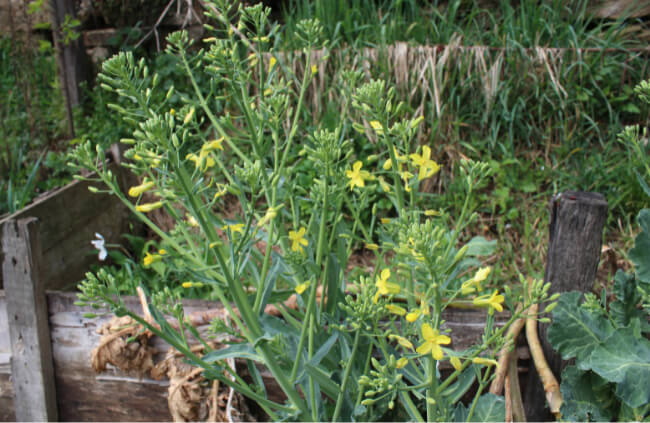
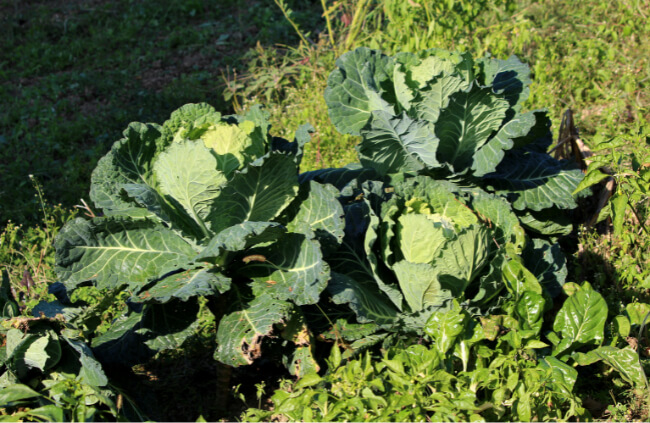
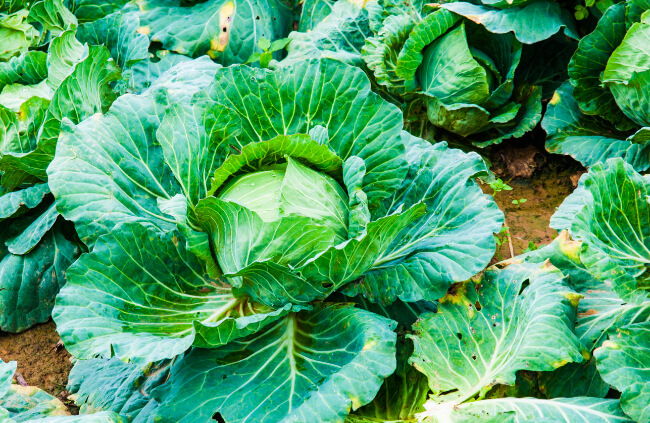
They are most similar to kale as they do not form heads. The leaves of collard greens are smooth and waxy with very clear veins. They are a fair size and can be bright green to dark green in colour. The stems are known for being very tough.
When compared to kale, collard greens generally have a stronger flavour that is also more bitter. Flowers of collard greens are also edible. Their flavour is sweet and very similar to cabbage.
Collard Green Varieties to Choose From
- Georgia Collards – this large, open headed variety has leaves that are tender and waxy. It handles heat well and matures in about 75 days. It’s an old variety of collard greens dating back to the 1800s.
- Vates Collards – this variety has a compact form and the leaves are smooth, thick and broad, with the plant reaching maturity in around 75 days. The leaves are dark green and the plant has an upright shape. The leaves generally have a purple colour in the veins. This is probably the most well-known variety.
- Morris Heading Collards – this variety grows quickly and the leaves curve inwards. It has a loose head and is quite compact. The broad and waxy leaves can be green or blue-green in colour.
- Blue Max Collards – this variety usually matures around 68 days and it produces a generous yield of leaves. The leaves are large and tender with a mild flavour. The plant has a compact and upright shape.
- Champion Collards – this is a hybrid of the Vates variety and it matures in around 60 days. This cultivar was created for a longer harvest time, to better handle frost, and to be a fast grower. The leaves are waxy and blue-green. The shape is compact.
- Flash Collards – this variety is small but grows quickly. It has smooth leaves that are flat and large, and have a dark green colour. The flavour profile of the leaves is sweet.
How to Grow Collard Greens in Australia
When collecting collard green seed pods for propagation, let them first dry out until they become very hard. You can then put the pods between sheets of paper towel and break them open by applying some pressure. Collect seeds as needed.
Collard greens will germinate best if you let them begin their journey indoors. If you want the seeds to sprout directly in the garden you can then plant them at the end of summer or in autumn. Prepare the soil by adding compost or your choice of organic matter.
Planting Collard Greens
You can create planting trenches that are around 1.3 cm deep. Sprinkle in the seeds, cover them up and water them. Water the soil often as it needs to remain moist. When the seeds have sprouted and reach a height around 10cm you can start thinning them out to around 45 cm apart. Add mulch around your plants too.
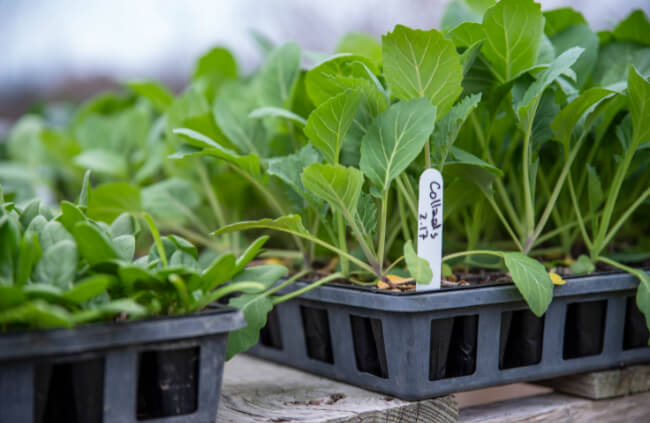
You can also start the seeds off inside for around 4 to 6 weeks before they are transplanted into the garden. Select small pots and then fill them with some seed-starting mix. You can plant 2 seeds in each plant just over 1 cm deep.
Water the seed growing mixture until it feels wet right through. Put the pots somewhere warm with bright light and place a clear covering over them.
When the seeds have sprouted, you can take the covering off and then place the pots somewhere that is a bit cooler but still with bright light. Make sure the soil stays moist.
When you are ready to transplant your collard greens outside, first take them through a hardening off process, gradually letting them get used to the outside environment.
Ideal Conditions for Growing Collard Greens
Light
Collard greens like to be in full sun but they can also grow in partial shade, especially if the area where you live gets high summer temperatures. At least 6 hours of sunlight is needed daily for this plant.

Get Your Free Guide:
Master Growing Australian Natives eBook
A Must Have Complete Guide for Every Australian Garden
Get Your Free Guide:
Master Growing Australian Natives eBook
A Must Have Complete Guide for Every Australian Garden
Temperature and Humidity
Collard greens do their best growing in cool and moist conditions. The plant can handle a bit of frost, as long as they aren’t exposed to very low temperatures for lengthy time periods.
This vegetable can also thrive in conditions that are dry and humid. You just need to ensure the soil stays moist.
What Soil to Use
A rich well-draining soil that has generous amounts of organic matter will make your collard greens very happy. A soil that is rich in nitrogen helps the plant to produce its lovely green leaves. Aim for a pH level between 6.5 and 6.8.
It’s important to maintain the moisture levels of your soil and not to let it dry out. If you notice that your collard greens are wilting it’s most likely because the temperature is too hot and the soil too dry.
You can mulch between the collard greens when they are still young to lock in moisture but it also helps to manage weeds.
How to Care for Collard Greens
Watering Needs
Be sure to water your collard greens well. You can test the soil with your finger after watering to make sure the soil isn’t too wet. Watering in the morning is best so the plant will have enough water during the warmest parts of the day.
It also means the leaves can dry out before nighttime. This helps to minimise risk for diseases.
Fertiliser
Apply a slow-release fertiliser to help your collard greens with their growth. They are considered a hungry plant that needs lots of nitrogen to develop well.
Harvesting and Using Collard Greens
Collard greens have big and thick leaves that are dark green. It’s important to pick the leaves before the plant gets to its full size. You can eat the leaves of collard greens right throughout the year but they are often at their best if you pick them during colder weather.
The leaves of a younger collard green plant have a different way of cooking than the older leaves. This is because they have a different texture.
Benefits of Collard Greens
If you are looking for a healthy vegetable to boost your sense of wellbeing, collard greens have plenty of important vitamins and minerals along with high fibre. Boost your intake of vitamins A, B6, C, and K, protein, folate, and thiamine.
Collard greens are considered detoxing thanks to glucosinolate, a compound that contains sulphur. It works as a natural way to clean the liver. The vitamin C in collard greens is an antioxidant which can help stop the growth of cancer cells.
Vitamin K and calcium work together to keep bones and teeth strong, and dietary fibre is good for digestion and boosting immunity. If you’re watching your cholesterol, the soluble fibre in collard greens gets rid of LDL cholesterol so it’s great for your heart.
A regular and generous intake of collard greens can also boost your hair growth, protect against anaemia and diabetes, and is anti-ageing too.
Harvesting Collard Greens
You can harvest collard greens around 2 months after they have been planted. You’ll notice that if you harvest leaves after frost or really cold weather, the leaves actually taste sweeter.
It’s best to harvest leaves as they are needed. They are usually ready when the leaves have a smooth texture and are firm to the touch. You can eat all the green parts of the plant.
When you harvest, use a knife or scissors and start with the lower leaves of the plant which are bigger and move your way up the stalk. The smaller leaves should be left so they can carry on growing.
How to Store Collard Greens
Once you have harvested your collard greens, you can store them in a damp paper towel and pop them into the fridge. They should last up to 4 days. The benefit of harvesting leaves as needed is that the longer collard greens are stored, the more bitter the taste becomes.
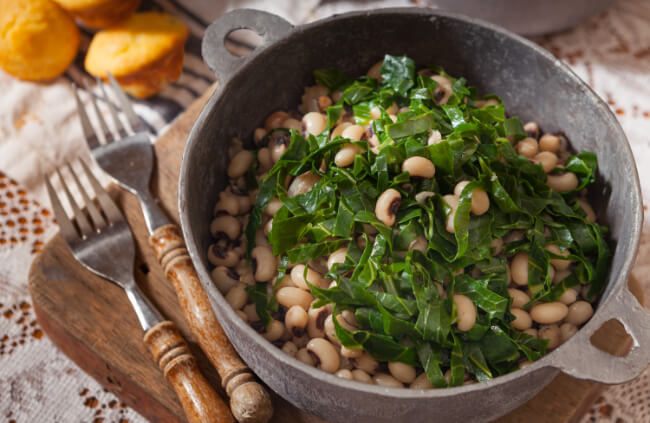
Cooking collard greens can be done in many different ways. Traditionally they are boiled but are also delicious steamed or sautéed.
Common Collard Greens Pests and Diseases
Black rot
Signs of this disease include a v-shaped marking on the leaves that can be brown or yellow. If you had to cut the leaf veins, you would see that the inside is black. Black rot bacteria gets into the collard greens through natural open areas on the leaves. It can also be caused by insects.
Black rot is able to spread through water that has been splashed onto the plants, whether from rain or watering. If the conditions are warm and moist, this is ideal for the bacteria to spread. Black rot spores thrive in moist conditions.
You can help prevent this by ensuring there is enough air circulation for your plants. We recommend pruning off any affected parts of your plant and then treating with a copper based fungicide.
Leaf spot
The leaf spot fungus creates round spots on the leaves and the colour varies from brown to black. The spots are slightly sunken in the middle and have a type of yellow hue around them. This fungus thrives in moist conditions.
You can help manage and prevent this fungus by covering soil with mulch and also pruning affected plants. Try your best to keep the leaves dry and manage an existing infection with a neem oil treatment.
Powdery mildew
The powdery mildew fungus creates a white powder on the top of the leaves and spreads quickly in weather that is warm and dry thanks to the wind. Baking soda is a great treatment for powdery mildew.
You can mix a tablespoon of baking soda, half a teaspoon of dishwashing liquid soap, and add to a litre of water. Add the mixture to a spray bottle and then treat your collard greens thoroughly making sure that you get to all affected areas.
Cabbage aphids
Cabbage aphids particularly enjoy the young leaves of collard greens. They feed specifically on plants in the Brassicaceae family. You can treat infestations using insecticidal soap or horticultural oils.
Ensure that you spray the underneath of the leaves and the top of the leaves too.
Collard Greens Frequently Asked Questions
What should I keep in mind when potting and repotting collard greens?
Collard greens do well growing in a pot. Ensure that you choose one large enough to allow room for growth and expansion. It should also have drainage holes. Use a high-quality potting soil that is also well-draining.
Depending on what potting soil you use, you can also add a slow-release nitrogen fertiliser.
Why are the leaves of my collard greens turning yellow?
This is usually a sign that your plant needs more water. Especially in the case of dry weather, you’ll need to water your collard greens often. Yellow and stunted leaves can also mean a deficiency in the plant and it might require more nutrients.
Collard greens need a fair amount of feeding, especially additional nitrogen if they are not getting enough from the soil.
What are the main characteristics used to group collard greens?
Collard greens are usually grouped into categories of loose-leaf greens (traditional varieties) and loose head greens (newer hybrids). If you are hoping to harvest leaves on a regular basis, a loose-leaf cultivar is best, and the loose head greens are great if you want to harvest the entire plant in one go.
How do collard greens compare to spinach?
Collard greens are bigger, their leaves are tougher, and they can handle cold better. The taste of spinach is more bitter compared to collard greens.
What is the history of collard greens?
Collard greens originated in Asia or the Mediterranean. This vegetable was first enjoyed by the Greeks and Romans. They made their way to Europe and then arrived in the USA at the start of the 17th century.
Collard greens are now incredibly popular in American cooking, and it’s even been established as South Carolina’s state vegetable.
Is there anyone who shouldn’t eat collard greens?
People who are taking blood-thinning medicine are best advised to avoid eating this vegetable.
Sign up for our newsletter for more gardening inspiration and info.
Wrapping Up Our Collard Greens Guide
What better way to remember to eat your greens and get a daily dose of health benefits, than growing collard greens in your own garden. Thanks to their low maintenance nature and the fact that they handle colds well, it’s really easy to add collard greens to your home.
Published on August 12, 2023 by Maisie Blevins
Last Updated on September 19, 2024

