Malabar spinach is a great alternative to real spinach and loves a warm climate. Besides being a nutritious garden addition, it also looks beautiful as a decorative plant on a trellis. Since discovering Malabar spinach and its fresh flavour, it’s become my favourite salad green.
Our guide focuses on all the info you should know if you’re considering growing your own Malabar spinach. We’ll guide you through propagation and care techniques, talk you through how to enjoy from a culinary perspective including advice on harvesting and storage.
More...
Family: | Basellaceae |
|---|---|
Genus: | Basella |
Species: | B. alba |
Origin: | Southern Asia |
Common Names: | Malabar spinach, Indian spinach, Ceylon spinach, vine spinach, climbing spinach |
Location: | Outdoor |
Type: | Vegetable |
Growth: | Up to 3 metres tall, up to 90 centimetres wide |
Sun requirements: | Full sun |
Foliage Colour: | Green |
Flower Colour: | White, pink |
Flowering: | Summer |
Edible Parts: | Leaves, stems, flowers, berries |
Maintenance level: | Low |
Poisonous for pets: | No |
What is Malabar Spinach?
Malabar Spinach earned its name from a coastal part of southwestern India. Although it has ‘spinach’ in its name, this tropical plant isn’t technically the same from a botanical perspective. Malabar spinach and common spinach do look alike though.
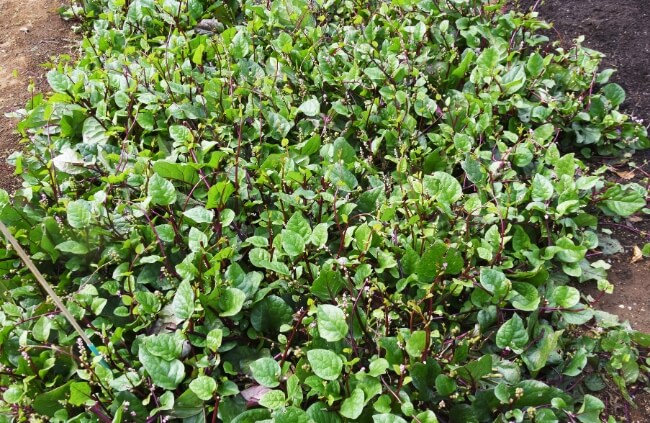
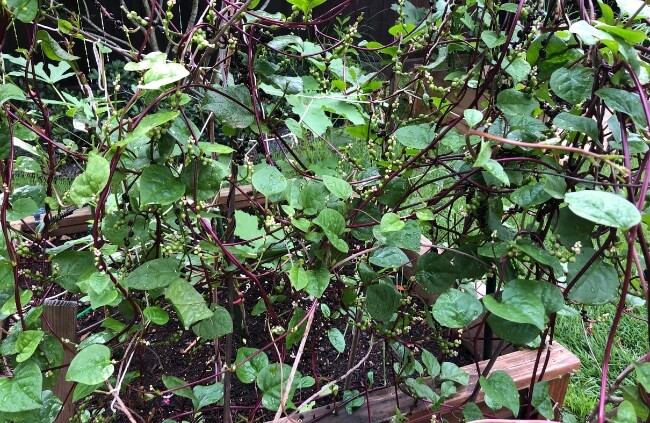
The plant or vine has leaves that have an oval or heart shape in dark green. The leaves are delicious both raw and cooked. Malabar spinach offers a mild flavour, with some pepper and citrus.
There are two species of Malabar spinach. Green Malabar spinach (Basella alba) and Red Malabar spinach (Basella rubra). The green variety is usually grown and used as a vegetable.
The red variety has purple stems and pink veins so it’s preferred for ornamental purposes. When cooked, Red Malabar spinach loses its red colour and is best enjoyed raw.
Growing Malabar Spinach in Australia
Propagating Malabar Spinach
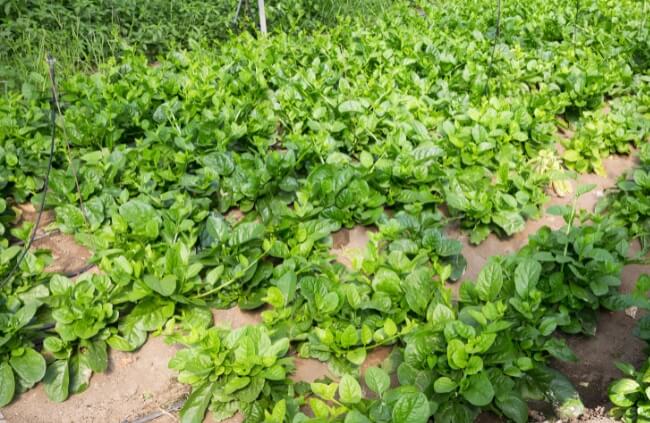
You can propagate Malabar spinach using a cutting, and plant directly into soil and keep it moist or allow the cutting to root in water first and then plant.
If you want to propagate using seed, you can collect completely dry seeds and store them somewhere cool and dry to plant the next year. You can use stored seeds for up to 4 years.
When you are ready for planting, we recommend treating the seeds first to help the germination process. You can crack the seed coat by using a sharp knife or the other option is to soak the seeds overnight in water.
Malabar spinach seeds can be planted directly into the garden or started indoors first. Plant them at a depth of around half a centimetre and allow about 3 weeks for germination to take place.
If your Malabar spinach seedlings begin their life indoors, you’ll need to harden them off before planting in the garden. You can space the seedlings around 15 cm apart.
Ideal Conditions for Planting Malabar Spinach
Sunlight Preference
Malabar spinach would probably choose full sun as the first option but it will also grow in part shade.
What Soil to Use
You don’t need to worry too much about the soil requirements for Malabar spinach. The plant is versatile and can handle many soil types provided it’s well-draining and doesn’t become soggy. A soil that has plenty of organic matter is also beneficial.
Temperature and Humidity
Malabar spinach is a tropical plant and cannot handle frost at all. Weather that is too cold can cause the plant to die as it requires heat to be able to grow. If the temperature during the day is less than 26°C and the night temperatures less than 15°C, it might seem like your Malabar spinach isn’t growing at all. Ideally the plant needs a temperature of 32°C or more to really thrive.


Get Your Free Guide:
Master Growing Australian Natives eBook
A Must Have Complete Guide for Every Australian Garden
Get Your Free Guide:
Master Growing Australian Natives eBook
A Must Have Complete Guide for Every Australian Garden
How to Care for Malabar Spinach
Watering Malabar Spinach
This plant thrives on sufficient water so if your area doesn’t get enough rain, make sure to water your Malabar spinach regularly.
Fertiliser
A fertiliser that is high in nitrogen is important for Malabar spinach to grow healthy leaves. You can give it a feed when you do the initial planting using a slow release fertiliser option. Follow up with another application of fertiliser every 4 weeks when the plant is in its growing season.
Pruning Malabar Spinach
Left without pruning, the Malabar spinach might start to get a bit out of hand since it is a vine after all. If you find that regular harvesting of your plant isn’t sufficient to keep it tidy, you can prune the leaves and stems as needed.
Here’s a little tip, if you pinch the vine tips, it makes the Malabar spinach start to branch out.
Harvesting and Storing Malabar Spinach
Harvesting Malabar Spinach
Cut individual leaves, stems, and vine tips using garden shears or scissors. Harvest only as much as you need at any given time. Regular harvesting encourages more leaf growth so instead of taking an entire plant, harvest smaller amounts more often. Which is why we included it in our list of salad mixes you plant once, harvest forever.
In the right conditions, Malabar spinach grows vigorously so overharvesting is unlikely. You can harvest the leaves and stems by cutting sections that are 15 to 20 cm in length.
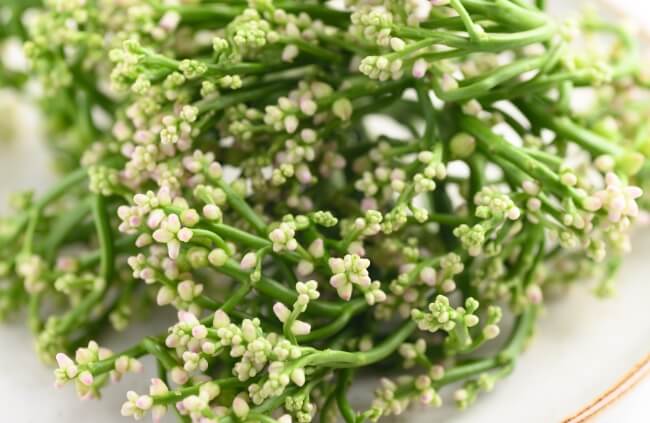
The more you harvest, the bushier the plant will become. It’s possible to keep harvesting your Malabar spinach while the plant is still creating new shoots and until it starts to flower.
When the Malabar spinach is flowering, the leaves become bitter. Leaves and stems that are younger are generally more edible as the older leaves tend to be slimier.
Storing Malabar Spinach
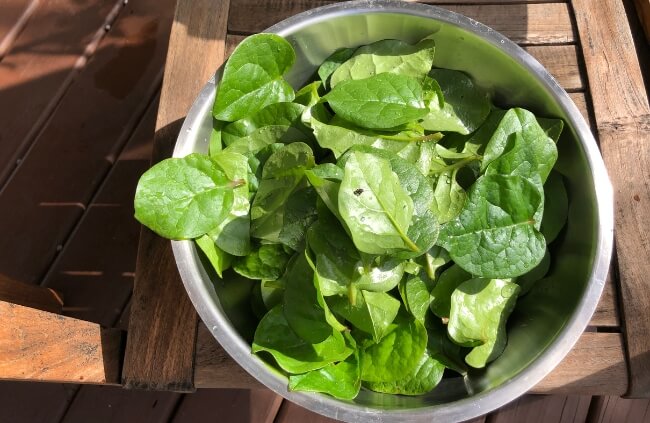
Malabar spinach is always best when used fresh, but you can store harvested leaves in the fridge for 2 to 5 days in an airtight container. If your harvest produces large quantities, you can freeze the leaves for later use.
Prepare the leaves by washing them and then boil for around two minutes. Put the leaves in an ice bath and then drain them, dry them off, and transfer to freezer ready containers. Once frozen, you can use the Malabar spinach within a period of 9 to 14 months. Leaves that have been frozen would be best used for cooking.
You could also dehydrate your Malabar spinach. Start by washing and drying the leaves and then place them on a baking sheet in a single layer. Pop in the oven at around 80°C for 6 hours and then turn down the temperature to 55°C for another hour. Once the Malabar spinach is completely dry, you can grind it into powder and store for use.
Malabar Spinach Culinary Use
You can use Malabar spinach in the same way that you would use common spinach. When cooked, it doesn’t become slimy or wilt as easily as other spinach. The pepper and citrus taste also works well when used fresh in a salad or sandwich.
Malabar spinach is incredibly versatile. You can combine with other veggies, fry it in batter, or add to soups and curries. It pairs well with seafood, spices like cumin and cinnamon, but also soy sauce, peppers, and garlic.
Common Malabar Spinach Pests and Diseases
Malabar spinach handles disease and pests well. Since the plant loves warm and wet weather for optimum growth, it might be at risk for a fungal disease, in particular Cercospora beticola.
This fungal leaf spot creates small grey spots on the leaves that have a purple or brown ring around it. If your Malabar spinach is infected, you can get rid of the affected leaves to make sure the fungus doesn’t spread.
You can treat Cercospora organically using a milk-based spray but it needs to be animal milk specifically as the protein in this kind of milk is what treats the fungus. You can mix 3.8 litres of water with 88 ml of milk.
Malabar Spinach Frequently Asked Questions
Can you grow Malabar spinach in a pot?
Yes it’s possible. You’ll need a pot that is big enough and sturdy so it can support the trellis for the plant to grow on. It’s vital to keep the potting mix moist and plants in pots often dry out quicker than those in the ground.
What are the benefits of eating Malabar spinach?
This vegetable is high in protein. It’s a great source of antioxidants like beta carotene and lutein and is also packed with magnesium, phosphorus, and potassium.
Does Malabar spinach have any uses besides being edible?
The juice of the red berries are used as a food colourant and in cosmetics. Malabar spinach has also been used in herbal medicine. The leaves have a laxative effect and can be applied to sores.
The fruit juice makes great eye drops for treating conjunctivitis and the roots can be used as a topical application to increase blood circulation.
Why are the leaves of my Malabar spinach curling?
This is usually an indication that the plant is getting too much nitrogen.
How can I prevent Malabar spinach from getting slimy when I cook it?
Make sure you rinse the leaves sufficiently before cooking. It’s best to rinse under running water instead of placing them in a bowl of water as the process of soaking can make the leaves release gel.
What does it mean if my Malabar spinach is turning yellow?
This usually indicates a nutrient deficiency, most likely zinc or manganese.
Gardening is our passion. Sign up for our newsletter for gardening tips, inspiration, and plant profiles.
Wrapping Up Our Guide to Malabar Spinach
Malabar spinach or climbing spinach which is probably the most descriptive, is wonderfully easy to grow and can even be included in a small or compact garden because of the way it grows. How handy to have fresh greens on hand for salads and more hearty meals too like stews and soups.
Published on August 31, 2023 by Gary Clarke
Last Updated on September 9, 2025


