Raised garden beds, often called garden boxes, are ideal for growing vegetables, herbs, and flowers. They’re especially useful if you have soil that is poor quality or difficult to work with, plants with specific soil nutrient needs, or want to reduce strain on your back and knees while gardening.
In this article, we’ll go over some of the reasons why we recommend raised garden beds, what to look for when you’re ready to buy, and reviews of the best raised garden beds on the market in 2025!
More...
Best Value

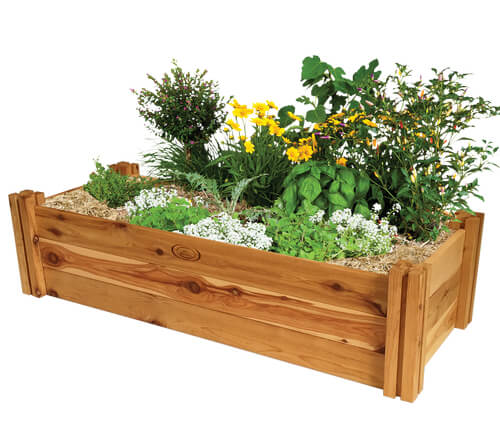
Best Raised Garden Beds for 2025
Product | Our Rating | Price | |
|---|---|---|---|
1. Birdies Heritage Modular Raised Garden Bed Kit |  |  | |
2. VegTrug 8 Pocket Herb Garden |  | ||
3. Aulock 28 Gallon Extra-Large Plastic Raised Planting Bed |  | ||
4. Jumbl Raised Canadian Cedar Garden Bed |  | ||
5. Vegtrug Natural Raised Low Bed Planter | 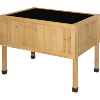 | ||
6. The Organic Garden Co Raised Rectangle Garden Bed |  |
Why Use Raised Garden Beds?
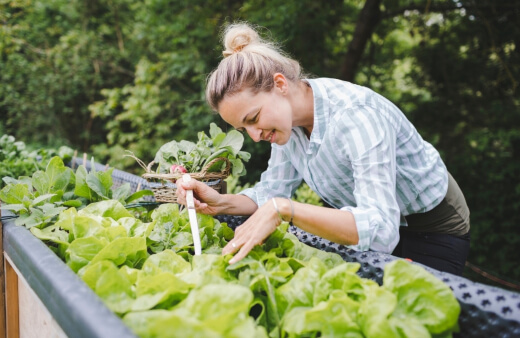
In this article I am going to share the top 5 reasons why I think you should consider using raised garden beds for your next vegetable gardening venture.
Reason 1 – Raised garden beds reduce the compaction of the soil
Though it is true that plants need good, solid, secure soil to grow in, it is equally true that they need light, air filled soil to thrive. Raised garden beds, by nature, have soil that is much less compacted than general garden spaces.
This is partially because when you build a raised garden bed, you have to fill it, and this naturally reduces how compacted the soil is. It also remains less compacted because you have no need to walk in the garden bed, so the soil will maintain a level of looseness.
This enables more air to be trapped and maintained in the soil, which plant roots need to survive.
Reason 2 – Raised garden beds are easier to use
Raised garden beds as well as plant stands are easier to use because being raised, is much closer to you, which means there is less need to bend down or squat. They are also easier to use, if they are designed well, because they bring order to your garden.
Vegetables are generally planted in rows and raised garden beds are easiest built-in rectangles and this natural order helps make raised garden beds easier to use.
Reason 3 – Raised garden beds utilise moisture more efficiently
Plants need moisture to survive, it doesn’t take a rocket scientist to know this. Raised garden beds better utilise the water that is available. Light, fluffy, air-filled soil is generally better at both absorbing large amounts of water but also at dissipating, or removing, excess water.
As water seeps into the soil, soil that isn’t compacted absorbs what it can and then allows the rest of the water to sink deep down into the soil, which is basically what is known as drainage.
Most plants need well-draining soils to thrive and raised garden beds encourage this.
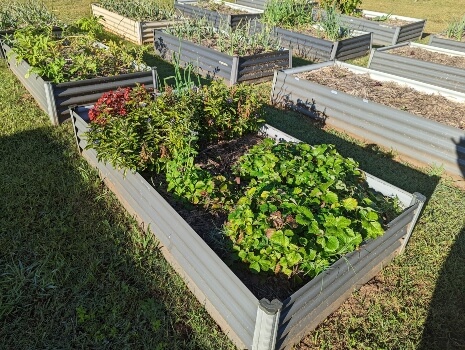
Reason 4 – Raised garden beds help plants to grow for longer
Another thing about vegetables is that they generally prefer to grow in warm (note warm, not hot) soils. Raised garden beds tend to warm up quicker but also tend to not overheat.
This, again, has a lot to do with the air in the soil. Because they tend to warm easier, it means the natural gardening seasons can be slightly extended each side because the soil will warm better than in normal garden beds. Raised garden beds better use the available sunlight.
Reason 5 – Providing organic matter and fertiliser is easier and more efficient
With raised garden beds, your garden is very clearly defined. You also generally tend to use all the space in a raised garden bed. This means that all the organic matter that you add and all the fertiliser you provide go into growing healthy plants.

Get Your Free Guide:
Master Growing Australian Natives eBook
A Must Have Complete Guide for Every Australian Garden
Get Your Free Guide:
Master Growing Australian Natives eBook
A Must Have Complete Guide for Every Australian Garden
When using a garden bed that is level with the surrounding areas nutrients from the organic matter and fertiliser that you add can leach away into surrounding areas which don’t necessarily need nutrients.
Raised Garden Beds and Planter Boxes
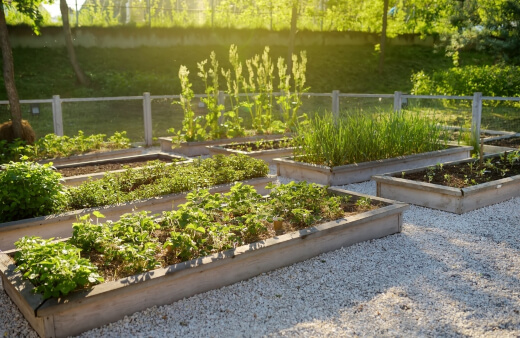
There are 2 main types of raised garden bed:
Supported raised beds
These create an edge that you lie flat onto your soil or concrete and fill with compost, soil, and mulch for your vegetable garden. Typically, they are made of wood, metal, or plastic, but you can make them out of almost anything!
You can build a wall yourself with bricks or stone or used reclaimed wood or concrete blocks. They’re a good option for sloped gardens or hard packed soil, and because they come in all sizes and shapes, they are an easy way to organise and lay out a vegetable garden.
Raised planter boxes
This option is more like having planting containers on legs, and some even have trays on the lower level for your gardening equipment, and wheels to make moving them around easy.
They are usually smaller and more compact than other raised beds, and often are rectangular in shape. This makes them ideal for window boxes, balconies and patios, and models with additional tiers make it easy to grow veggies even in limited space or with limited accessibility.
What to Consider When Shopping for Raised Garden Beds or Planter Boxes
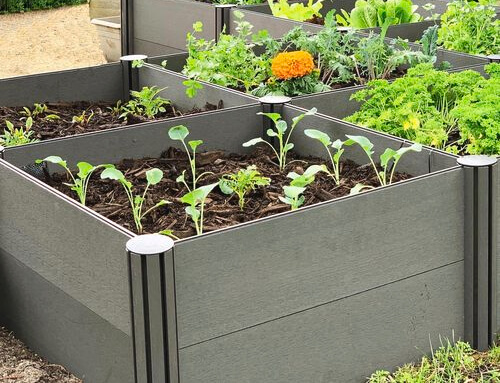
- Material – The material you choose is up to your personal preference, but some are more affordable or more durable than others. Whatever you choose, it should be food-safe, UV-resistant, and rot-resistant.
For affordability, plastic is the best, while stone and steel are the most durable. Using reclaimed wood to make a sleeper bed garden is another good idea, as these are very durable – but they are very heavy to lift and place. - Size – Plan out your vegetable garden before you buy your beds to make sure you have the right size. Keep in mind that you may have to move a wheelbarrow or lawnmower between the beds.
In terms of width, you don’t want to extend further than your reach, as you’ll have to then climb into the bed to harvest, which is not ideal. The higher your bed is, the more soil you’ll need to fill it, but the easier it will be on your back. - Location and accessibility – If you have a large garden, you can choose to have multiple raised beds for different types of vegetables. However, if you have a balcony or small garden, you need to maximise your use of space.
In these cases, it’s best to look for stackable or multi-level raised planter boxes or narrow raised beds that are easy to access and don’t take up too much space. - Assembly – Unless you are good at DIY or are happy to use a contractor, we don’t recommend that you build your own beds unless you really want a custom job, as this can be expensive.
Pre-assembled raised planter boxes and beds are a real win here, as all you need to do is place them and fill them up – and you’re ready to start planting.
Raised Garden Beds vs. Wicking Garden Beds
A wicking garden bed is a raised garden bed with a water trough underneath it. You water the plants by filling up the trough or reservoir, and the plants draw water up from below.
They are a great option if your vegetable garden space gets very hot, allowing plants to stay watered for several days even during a heatwave.
Wicking garden beds are great for vegetables because these plants have high water needs, and they create a constantly moist, stress-free environment for the plants.
Top Raised Garden Bed Reviews
1. Birdies Heritage Modular Raised Garden Bed Kit

Simple, rustic, and well-sized, this Bunnings raised bed is a great option for anyone who wants something attractive, functional, and well-priced.
It’s made of chemical-free, durable white cypress heartwood, making it naturally termite-resistant and weather resistant. It fits well into courtyards and on balconies and makes a great addition to a kitchen garden.
Pros
Cons
2. VegTrug 8 Pocket Raised Planter Boxes
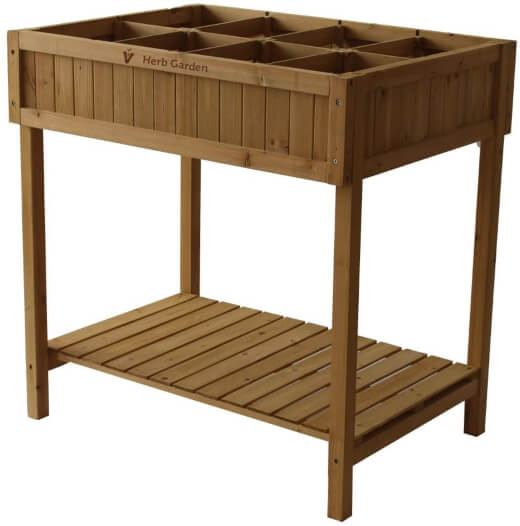
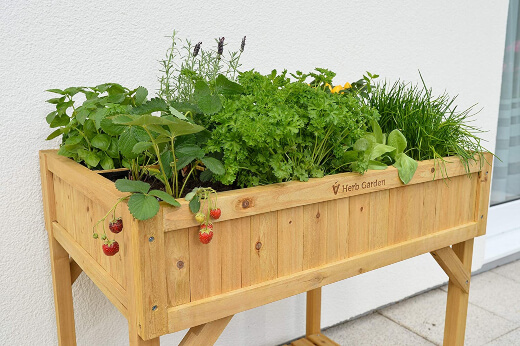
This attractive and compact raised planter boxes are ideal for a sunny balcony or patio, providing you with space to plant 8 of your favourite herbs or veggies.
Its small size means you can’t grow larger varieties, but it is sufficient for most small kitchen gardens. The natural wood construction is treated with a food-safe preservative to make it last, and it comes with pre-formed replaceable liners.
Pros
Cons
3. Aulock 28 Gallon Extra-Large Plastic Raised Planting Bed
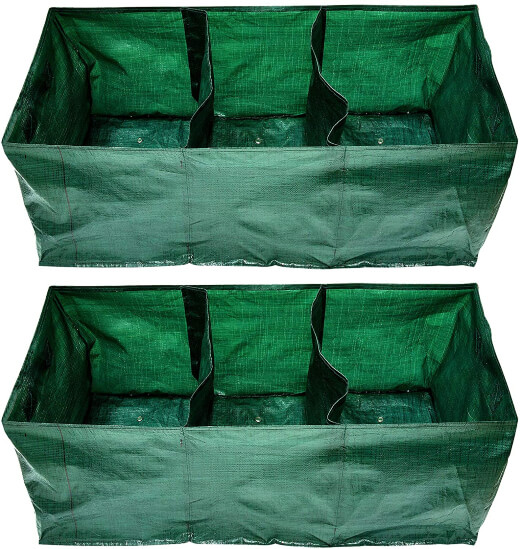
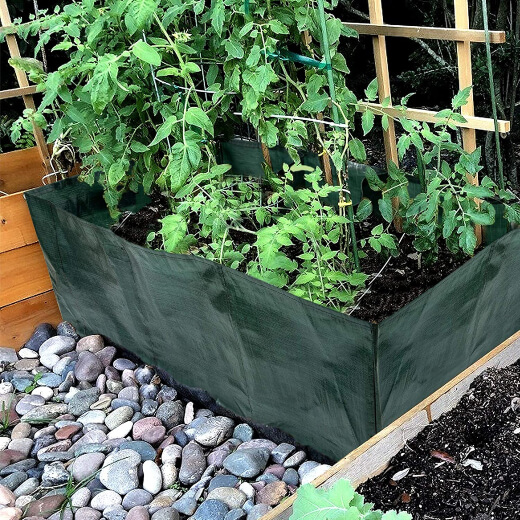
If you are looking for a very basic and compact set up, then this is a great option. It consists of 2 sets of 3 grid-divided grow bags made of polyethylene.
They are UV-resistant, rot-resistant, heat-resistant, and don’t leach into the soil, making them food-safe. They have handles for easy transportation, fit easily into gardens or onto patios and balconies, and can be washed and reused when needed.
Pros
Cons
4. Jumbl Raised Canadian Cedar Garden Bed
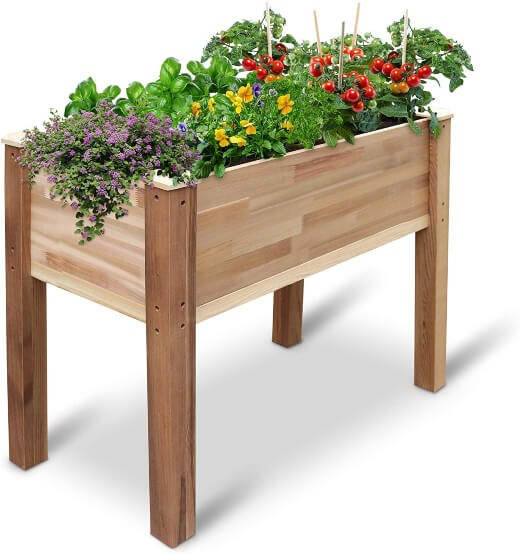
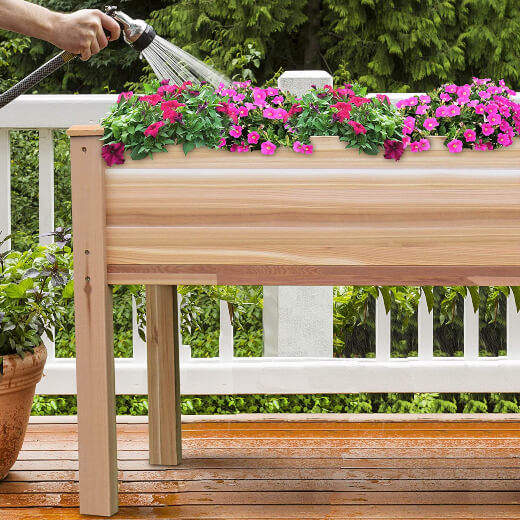
Made of attractive, insect-resistant cedar wood, this stylish raised vegepod is a beautiful addition to any patio or balcony. It’s set at an ergonomic working height to reduce back strain.
Cedar is very strong and durable and can handle harsh weather conditions for many years without rotting or degrading. The planter is easy to assemble, and no tools are required.
Pros
Cons
5. Vegtrug Natural Raised Low Bed Planter
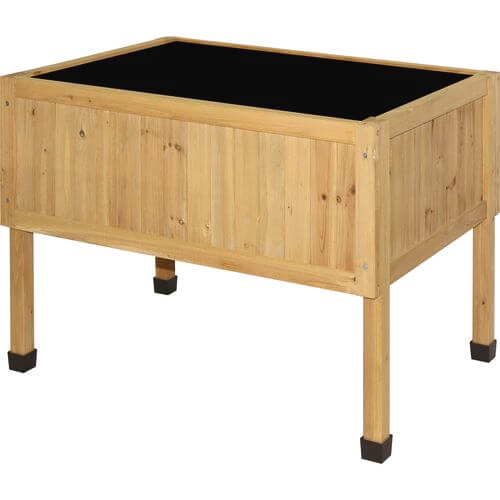
This larger sized raised planter box is a good option for patios and kitchen gardens, with enough space for several different types of herbs and smaller veggies.
Made from FSC® certified cedar wood, it’s durable, weather-resistant, and insect-resistant, repelling pests. It has foot covers to protect the base of the unit and comes with a preformed liner.
Pros
Cons
6. The Organic Garden Co Raised Rectangle Garden Bed
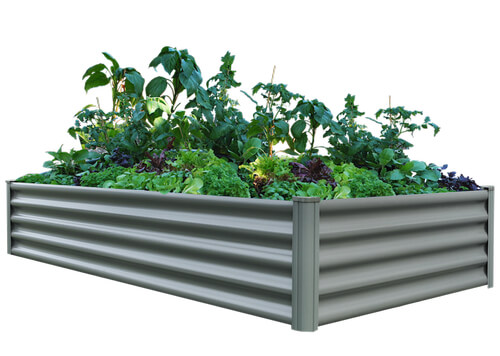
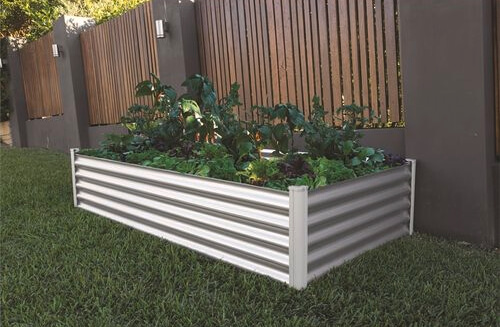
Attractive with a clean, utilitarian style, this Bunnings raised garden bed offers plenty of space for growing vegetables and herbs. It assembles in just 5 minutes without the need for any tools or screws, and is made of superior strength steel, so it will last many years to come.
This bunnings vegepod also has rolled safety edges to avoid injury and comes with a 5-year warranty.
Pros
Cons
Raised Garden Bed Top Pick
Best Value Raised Garden Bed


It’s difficult to beat the Birdies Heritage Modular Raised Garden Bed Kit for value. It’s a good size for a raised planter, so you can get a decent yield even off a balcony or patio area.
The white cypress heartwood is attractive and durable with the bonus of being termite-repellent too. It’s very well priced and easy to assemble but may not be quite high enough for people with bad backs as it isn’t raised on legs.
How to Build a Raised Garden Bed
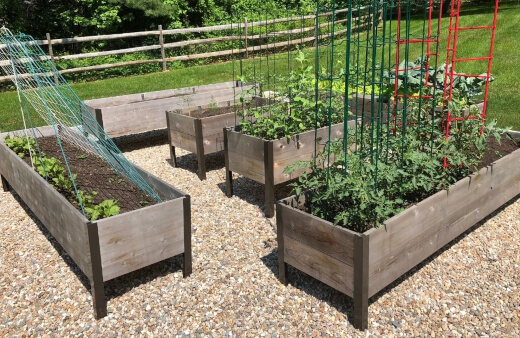
So you’ve decided which raised garden bed you'll get, and want to get stuck into it yourself. Great! Luckily for you, it’s actually a really simple process, and with just a little bit of work, you can have a great raised garden bed that suits your needs.
Step 1. Mark the area
Pick the spot you want your raised garden to go. You need to consider what the garden is going to be used for, and what you’re planning on planting here.
If you’re planning sun loving plants, then obviously it needs to be in a sunny spot. If you’re planning on planting crops, then consider things like access to water, or how hard it will be for you to carry back your bounty.
You also need to consider how big you want your garden to bed. Is 1m x 1m really going to be enough room to plant up your own little tulip floral display? Or is a bed the size of a swimming pool really that practical?
Stopping and having a good think is the best advice here. Common sense should point you in the right direction. A good tip is to break up beds and do a couple dotted around the place, to make use of different conditions throughout your backyard.
Once you’ve picked your spot, grab some spray paint and mark the area as best you can. If you’re using an out of the box contained you’ve purchased, then make sure the area matches it.
Step 2. Prepare the ground
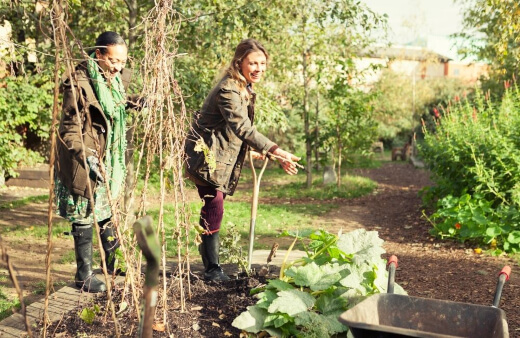
Now depending on what you’re putting your raised garden bed on top of, and how high you’re planning on raising, this step can be either quick and simple, or a little involved.
If there’s any ground vegetation like turf, you want to dig this out completely. Using a shovel, cut around the outside of your marking, then strip the top layer of soil containing all the roots of the grass with it.
This will mean that you wont have any unwanted grass or weeds shooting up through your raised bed, and makes it way easier to get the site level.
If you’re planting onto a hard surface like compacted rocky dirt, or concrete, then just give it a good sweep and make sure there’s no small weeds in cracks that could cause the same problem.
Once we have our site cleared, it’s time to level it out. Dig out or rake around your soil to do this. You don’t need to get out your spirit level for this one, but you want it to be pretty much level.
This will help when you set up any structure that you’re building, and will ensure even water movement as it moves through the soil into the ground.
The final step for preparing your ground is an optional one, but one I would really suggest following. It involves laying some geo-tech fabric or silt fencing on the ground.
Basically this stuff is woven material that catches and holds sediment, whilst allowing moisture to pass through.
The reason I suggest putting this layer in is that firstly, it’ll stop any of your soil falling out the bottom if you’re planting onto a hard surface, but secondly because it will help hold in and preserve any organic matter and organisms you get or add (like worms), and keep out a few of the nastys that you’re trying to leave behind in your old soil.
A lot of people are happy for their raised beds to connect with their ground soil to act as a soil conditioner and improver for the gardens around them, and this can be true, so it’s very much an optional step.
Step 3. Building the structure
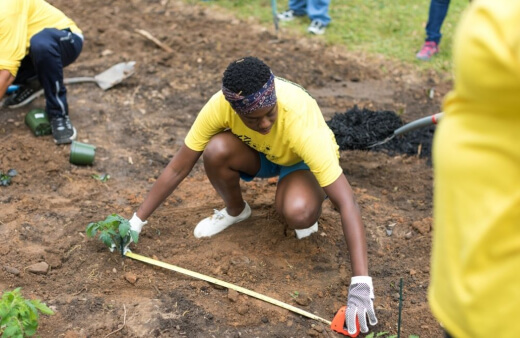
If you’re planning a simple little mounded soil garden, you can skip forward to Step 4, but for everyone planning a larger raised bed with a structure, here’s your time to shine.
This is time you get to put together your out of the box kit, or get out the measuring tape and hammer to build your own. The options are endless as to what you can use as a raised bed container.
The most common you will see are made of hardy material like galvanised steel, or timber sleepers. But you can also use bricks, rocks, or get crazy and use things like old steel drums or washing machines!
Whatever you use, make sure it’s not going to rust; can support the weight of all the soil behind it, and can provide a nice level and even container for your soil. When you’re set up with the structure, grab some more geo-tech fabric, and line the sides with it.
This will help stop any soil escaping through joins or holes, and helps create enough separation between your structure and the soil to allow air and moisture to pass through, meaning healthier soil.
If you’ve got a sizable raised garden bed, it’s definitely worth installing some ag line in as well. Ag line/pipe is a flexible plastic tube with holes all along it. This is covered with a geo-tech sock, which keeps the soil from getting into the holes and blocking the tube.
Installing this will help get air flowing through the bed, right down into the deepest layers. This will help keep the soil from getting water logged, and all the aerobic microorganisms in your soil will be doing their hard work all the way through your bed.
It gives the added bonus as well of being able to stick your hose down and watering directly to the root zones of plants during sunny hot days.
Lay the ag line about ¾ way along the bottom of the bed, then up to the top corner to just above where you expect soil level to be. Cover it with a little cap to stop anything finding its way down.
Step 4. Add your soil
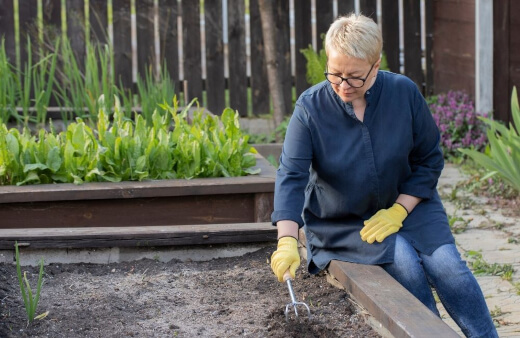
This step is the real bones of your raised garden bed, and is the most important one to get right. Regardless how large your raised garden is, you need to have good quality soil full of good organic matter for your plants to grow in to.
For most gardens in Australia, I would suggest a 50/50 blend of good quality garden or top soil from your local landscape supplies store and organic compost. A tip I like to use is to mix up my types of compost, to have a variety of sources that your organic matter is coming from.
This is a good way to make sure you’re getting a good spread of microorganisms and nutrients for your plants to grow. Things like composted chicken or cow manure, and mushroom compost are pretty good bets, or your own if you have it!
Once you’ve got your soil mixed, its time to fill your beds. If you’re filling a large structure, be sure not to compact it down when you’re filling. Allow for about a 10% drop in height once the soil has settled after a couple of days as well.
For smaller beds, you want to make a flat -topped mound in the middle of the area, and smooth the edges off. Get it to the height you want, and gently, but firmly pat it down to hold it in place.
Don’t be too worried though, once you plant it up, the roots will hold most of it together.
Step 5. Plant that garden up!
Once you’ve got your raised garden bed built and full of soil, it’s time to go nuts with planting! Whether it’s showy flowers and shrubs, or your own little produce garden, your new raised garden bed should be perfect for everything you need. Enjoy!
For additional raised garden choices, take a look at our review of Vegepod raised garden beds to determine if it's the one you're looking for.
Start Your Veggie Garden Today with the Best Quality Raised Garden Beds
If you are keen to grow vegetables, we very strongly recommend you consider using raised garden beds. After all, an average, 4–5-person family could grow all the vegetables they need for a year with 6 1.5m2 beds!
For most places this is probably more than you can fit, but most places could fit 2-3 of this size and even in 2-3 beds you can grow a lot of vegetables for your family and community, so why not consider installing a raised garden bed or three soon?
Let us know how your project goes – and remember, always invest in the best raised garden beds to get the best results!
Published on December 14, 2023 by Gary Clarke
Last Updated on December 23, 2025



Hi I have three raised vegetable tubs each 3mx2m. Need shaded fir harsh summer months and keep possums and birds out they are demolishing my veges can you please help,??
Hi Viviane,
Shade cloths are a great choice to protect your plants from the harsh sun and keep those pesky critters at bay. You can use stakes or poly hoops to create a framework over your plant beds.
You can then secure a shade cloth over the framework. Using a shade cloth with eyelets is ideal, as it means you can secure the cloth and remove it easily when needing to work in the bed. Amazon has some great shade cloth options.
Best regards,
Gary Clarke