TifTuf Bermuda is a terrific turf variety for a plethora of applications. Used on backyards and sports fields it is a super hardy variety that is fine leafed and super water-wise.
Read on to learn more about Tiftuf Bermuda installation, care, and maintenance.
More...
Using 38% less water than other similar varieties it is the perfect variety for South-East Queensland's climate. A phenomenal achievement for TifTuf Bermuda is that it is the only turf variety in the world to receive the Smart Approved WaterMark.

TifTuf Bermuda was 25 years in the making, being hand-selected from 30,000 other Bermuda varieties. It is truly a tough and great looking lawn that is terrific for families with pets, and its recovering qualities are far superior to other turfgrass varieties.
Tiftuf Bermuda Turf Installation
Australia's weather can be harsh and hot especially during Summer or on the flip side cold and freezing during Winter. Autumn sits right in the middle and is the perfect time to be installing turf as it is more tolerable just before the peak growing season of Spring. In South-East Queensland you are able to install turf all year round.
Preparation of Your Space
Before you think about getting any turf you have to prepare your surface area. Spraying out your weeds/grass with a broad-spectrum systemic herbicide is crucial, as you will need to get rid of weeds before thinking about bringing in fresh soil.
Make sure to use the correct application rate and wear the correct personal protective equipment. You will need to wait until the weeds die, which can take from 7 to 10 days. A second application may be required.
If you are removing an existing lawn, you may need a turf cutter for larger areas. Or alternatively, a rotary hoe (which is available to hire) to then cultivate your area.
You will need to dig out to a depth of 150mm making sure to remove any stones, sticks or rocks that arise as you cultivate the area.
Bring in Fresh Soil
Now is the time to bring in fresh soil. Making sure to bring in fresh soil is crucial to the health of your lawn, spread your soil to a depth of 100mm depending on your site.
You will need to get 2m³ of soil for every 20m² of turf area. Make sure to rake your soil so that it is levelled so that turf sits 75mm below weep holes to comply with building regulations.
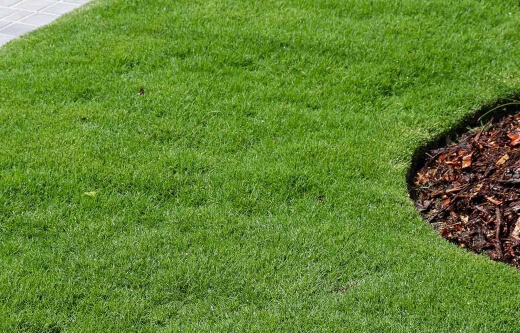
We particularly recommend a sandy loam under your turf as it is best for drainage and allows for a deeper root network which allows your turf to be more drought tolerant. The better the foundation, the better the final result.
Measuring Your Area
As they say with timber, measure twice and cut once, the same goes for turf. Sketch up the area that is being turfed and measure accordingly to calculate the space. Then comes the time to order the turf variety best for your space.
Handling Tiftuf Bermuda Turf
With the turf then ordered, now comes the time to handle your turf. Turf is harvested in slabs that are super flexible, they can be folded in half, thirds or rolled. We recommend that you fold it in thirds as it is easier to handle and will be less likely to break apart and is more friendly on your back.
When you start laying the turf, work around the perimeter first. Move each piece to the area you are covering. Gently unroll or unfold it. Do not use small pieces around the perimeter unless absolutely necessary. Small pieces will dry out quicker than larger pieces.
When you have the perimeter laid, work your way across the area starting at the longest run. Butt each piece of turf against the next without overlapping or leaving gaps. If you pull on the turf, you can stretch it and damage it. If any of the pieces are overlapping, use a sharp knife to cut off the overlapping section.
Do Not Walk on The Lawn
After the turf has been laid, do not walk on it for 2 to 3 weeks. Doing so can damage the roots and disturb the rooting process.
TifTuf Care and Maintenance Guide
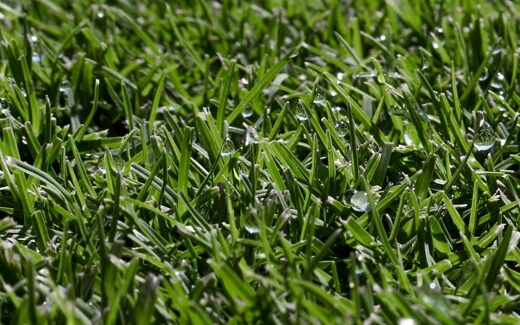
Since your lawn is now installed, now comes the time to maintain it. Watering your turf is essential for post-installation, this allows your new turf to establish. Follow as many of these maintenance tips to keep your lawn looking happy, healthy and green.
Watering TifTuf Bermuda
Whilst we say above that TifTuf requires little amounts of water, that is not true after being installed. Like all freshly installed varieties turf must be kept moist during the establishment period. During Summer periods we recommend that you give your lawn a deep watering.
Note: Your lawn should receive a minimum of 10/15mm per application
- Weeks 1 & 2: Water deeply 1-2 times daily.
- Weeks 3 & 4: Water deeply every second day.
- Weeks 5 & 6: Water deeply twice a week.
- Week 7 onwards: Water deeply regularly.
Mowing TifTuf Bermuda
It is recommended to mow TifTuf 1-2 weeks after installation. Be sure that your TifTuf lawn has taken root before mowing by lifting a corner of a slab to see if it grips to the soil. Mowing of TifTuf Bermuda is required weekly as regular mowing will prevent you from accidentally scalping it.
Ongoing TifTuf Bermuda maintenance
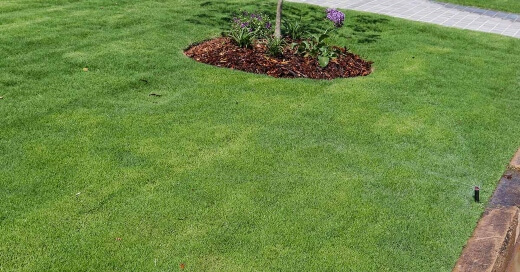
The main ongoing maintenance of TifTuf Bermuda will be regular mowing. During Summer periods you will have to mow weekly to keep on top of it. It is recommended to keep it mown at a height of 20 to 40 mm.
When fully established it is superb when it comes to drought tolerance, regular watering will keep it looking its best, especially during Summer.
While it uses less fertiliser, we still recommend fertilising it 3 times a year. Make sure to fertilise early Spring, Summer and Autumn. Make sure to use fertiliser at a ¼ rate as too much nitrogen will create too much growth in the leaf.
Author bio
Jimboomba Turf is focused on providing, motivating and inspiring people to get the best quality turf solutions for their everyday needs. We have been in the turf game since 1973 and we are as young as we were back then.
With phenomenal turf varieties like Sir Grange Zoysia, TifTuf Bermuda, Sir Walter DNA Certified and Nullarbor Couch we have the perfect turf variety for every situation.
We don’t just supply turf for families alone, we pride ourselves on developing innovative products to satisfy the requirements of our residential, commercial and sporting clients. We remain the trusted name in the industry in South East Queensland.
TifTuf Bermuda Turf Guide Conclusion
After you install your TifTuf Bermuda Turf, keep in mind that walking on it too early can cause damage. Continue watering your grass per your watering schedule. But do not walk on it.
Once your new turf has taken root and has attached itself to the soil, consider a good fertiliser program. To keep your turf thick and healthy it needs to be watered and fertilised regularly.
The installation of turf is one of the fastest ways to improve the look of your home. Now that you know how to install TifTuf Bermuda Grass, it is time to get started.
Published on October 22, 2021 by Gary Clarke
Last Updated on October 25, 2023


