What do Swiss cheese plant and Monstera plants have in common? It’s less about being able to eat both of them, and more about the look of the leaves.
So if you love cheese, and interesting looking plants, read on to learn more about Monstera adansonii. We take a look at how to grow and care for your plant, how to take the perfect cutting, and what pests and diseases to look out for.
More...
Genus: | Monstera |
|---|---|
Species: | M. adansonii |
Family: | Araceae |
Common Names: | Swiss cheese plant, Swiss cheese vine, five holes plant |
Type: | Perennial |
Growth: | Height up to 4 metres outdoors and 2.5 metres indoors |
Sun requirements: | Partial |
Soil Type: | Moist, well-drained |
Soil pH: | Acidic, neutral |
Flower Colour: | White |
Blooming season: | Spring (not indoors) |
Poisonous for pets: | Yes |
Introducing the Swiss Cheese Plant
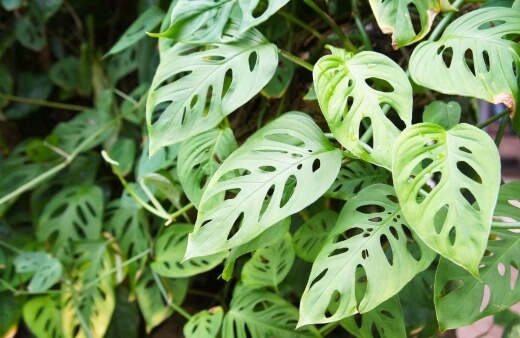
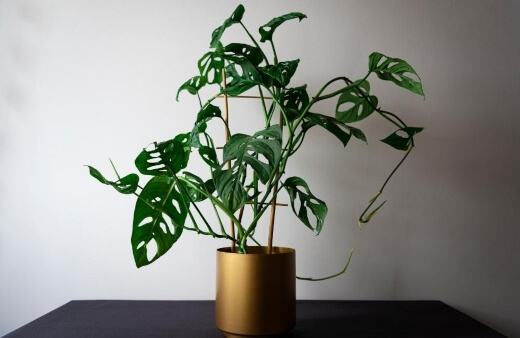
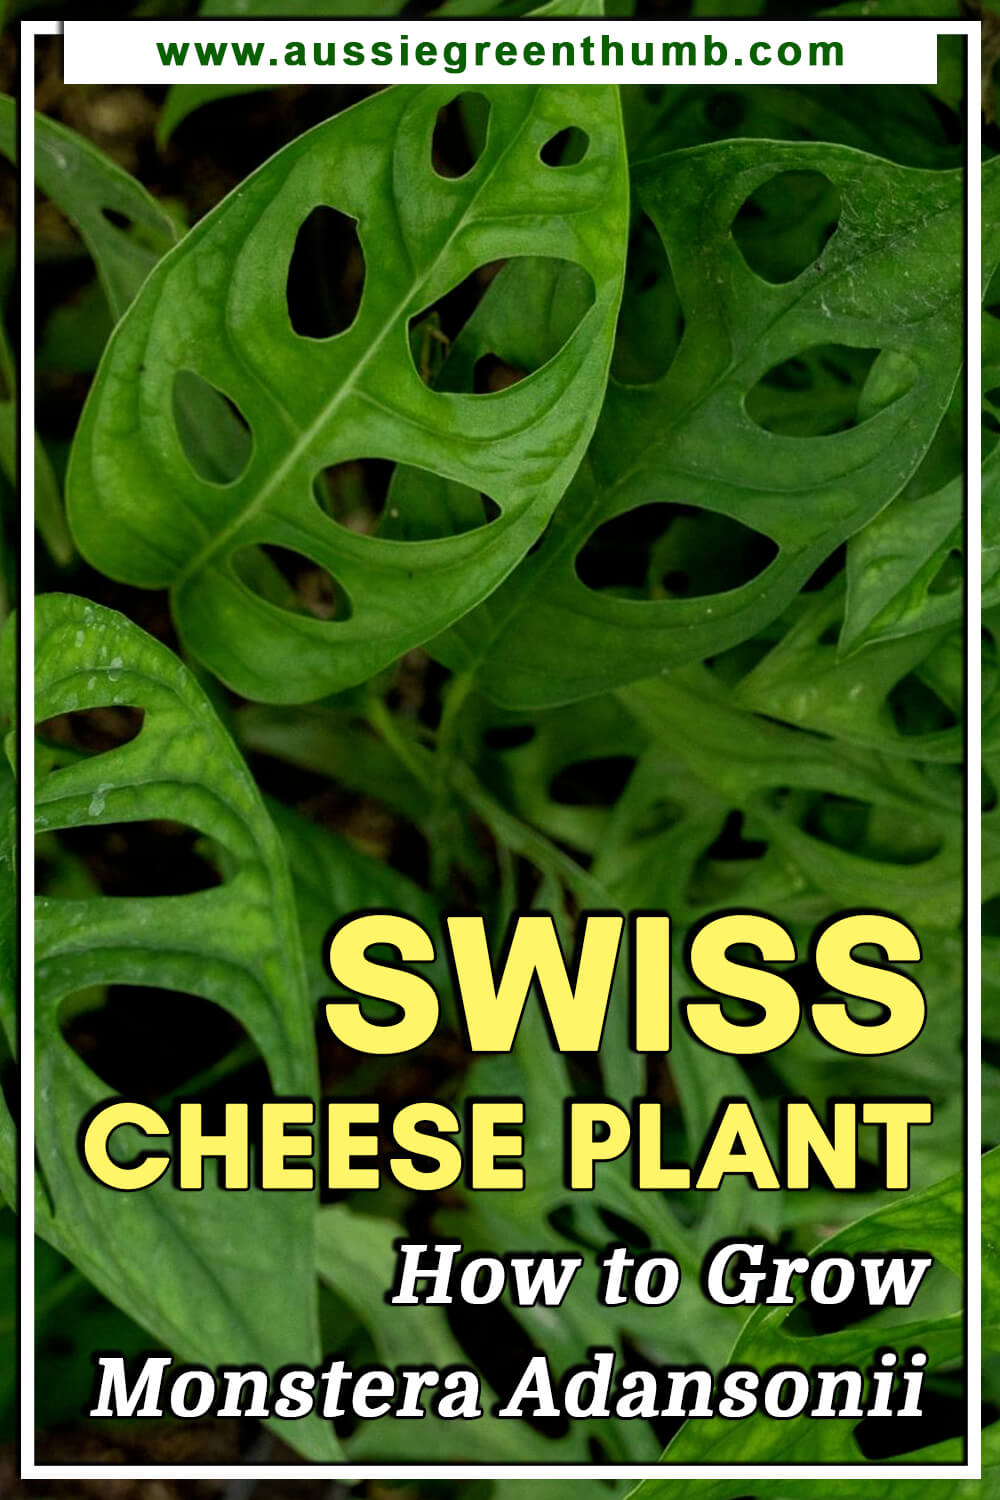
The Monstera adansonii or Swiss cheese plant as it’s more commonly known, gets its name from the large, heart-shaped leaves that develop holes as the plant matures. This process is called fenestration and makes the leaves look a bit like Swiss cheese.
Monstera adansonii is native to Central and South America, parts of southern Mexico, and the West Indies, and is usually grown as a houseplant. It has a fast growth rate and behaves a bit like a vine.
If you plant it indoors though, it will remain quite contained in a pot. They look quite similar to their family member, the Monstera deliciosa, but they don’t grow as big as their relatives.
The first Monstera was described more than 250 years ago, in 1763, by French botanist Michel Adanson and that is how the Monstera adansonii was named.
How to Grow Monstera adansonii
This plant is easy to care for, and like any child, it loves to climb. The roots grow downward from the stem, and in the wild, Monstera adansonii will use its roots to push itself up onto a nearby tree.
If you’re growing it as a houseplant, you can encourage this growing behaviour by inserting a stake in the middle of the pot.
Swiss Cheese Plant Light Requirements
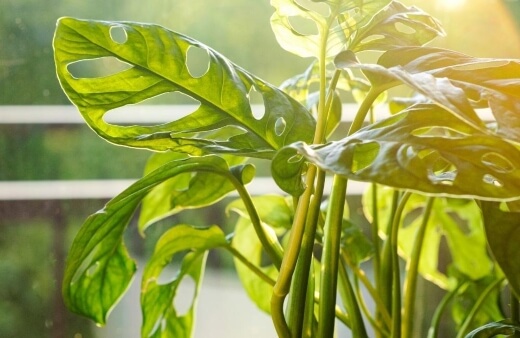
Since Monstera adansonii is tropical in origin, it just loves bright, indirect light. It thrives under the cover of large trees in the jungle, and the leaves can easily burn if the plant gets too much direct sun.
If you really can’t avoid direct sunlight, try and limit exposure to two or three hours of morning sun. The variegated varieties need slightly more sunlight in order to keep the variegation.
Best Soil for Swiss Cheese Plant
These plants grow best in a peat-based potting mix. This traps moisture in the soil without causing it to become waterlogged. For strong growth, aim for a soil pH between 5.5 and 7.
Temperature and Humidity
Since they are jungle plants after all, Monstera adansonii thrive in very high humidity and warm temperatures. You want to do the best you can to mimic the plant's natural conditions.
Make sure your plant is always in a spot that's above 4.5 degrees Celsius, and protect it from drafts. A humidity level above 50% is perfect. A warm, well-lit bathroom is a great option for this plant but you can also increase humidity by misting the plant or using a humidifier in its space.
It is possible to grow these plants with less than ideal humidity levels but they will grow faster, stronger and bigger leaves in a more humid environment.
Caring for Swiss Cheese Plant

Watering Monstera adansonii
Monstera adansonii plants like to be constantly moist but not soaked in water. Before you start watering, stick your finger into the soil and if it feels nearly dry to the touch, it's time to water. Keep watering until a little water runs out of the container's drainage holes.
Best Fertiliser for Monstera adansonii
After potting (or repotting) your Monstera adansonii, wait at least four to six months to fertilise it, as potting mix usually already has slow-release fertiliser in it.
After that you can fertilise monthly, using an all-purpose liquid fertiliser that has been diluted by half. Monstera plants need a 3-1-2 fertiliser.
Pruning
The Monstera adansonii is a climber and might need to be pruned if it begins to outgrow your space. If you do need to prune your plant, aim to do so in the spring.
Make sure you use sterile pruning shears to cut back stems and don’t reduce the plant by more than 25 percent. Cut just before a leaf node and remove any dead or damaged leaves as needed.
Need some new shoes for spending time in your beautiful garden? Have a look at our garden shoes buying guide for some inspiration.
Propagating Swiss Cheese Plant
Monstera adansonii Propagation from Cutting
The easiest way to propagate a Monstera adansonii is from a cutting and the best time to propagate is in the spring. Here's a summary of how to do it.
- Cut off a 10 to 15cm piece of stem, and be sure to cut just after a leaf node. Remove any leaves on the bottom third of the cutting.
- Apply a rooting hormone to the cut end.
- Plant the cutting in a moist soilless potting mix in a small container with drainage holes.
- Place it in a warm place with bright, indirect light.
- Continue to keep the growing mix slightly moist. Once there are well-formed roots in a few months, you can then transfer the cutting to a larger pot.
For a more in depth step by step explanation, follow the steps below.
1. Take cuttings from a healthy plant
Cut a 7.5 to 15cm long piece from a healthy part of the plant's stem. Use a sharp knife to cut the stem at a 45-degree angle which maximises the area for roots to develop. Ideally, take cuttings from the newest growth on the plant.
Each cutting needs to have two or three sets of leaves and make sure the cutting includes at least one growth node that can be buried. Roots will grow from this node and from the cut end of the stem.
Propagation doesn’t always work the first time so use at least three cuttings as insurance. Woody plants can be extra temperamental!
2. Trim the leaves and apply rooting hormone
Remove the leaves from the bottom node of the stem cutting by snapping off the leaves. You want to keep three to four leaves on the stem cutting. The next step is optional but it can help.
Apply a rooting hormone to the trimmed end of the cutting and to the area where the leaves were removed. Often the plants can root successfully from cuttings without this step, but using rooting hormone can speed up the process.
3. Plant the cuttings
Prep small pots with a soilless potting mix – something like vermiculite is a good option. Make a hole in the mix with a pencil, insert the end of each cutting, and lightly pat the mix around the stem of the cutting to hold it upright.
4. Tend the cuttings
The Monstera adansonii will not root well in full sun (like most plants) so rather put the cuttings where they will get half shade and half dappled sunlight. Cuttings thrive on warmth and humidity. Keep the growing mix evenly moist but don’t soak it - just while roots develop.
Check on your cuttings every two weeks. You’re looking for new leaf growth and root development. If there are flower buds you can pinch them off. New leaves help with root growth, but flowers steal energy away from root development.
5. Transfer the cuttings
When you see new leaf growth developing along the stem of the cutting, you know that healthy new roots are established. If you feel resistance when slightly pulling on the cutting the roots are sufficiently developed.
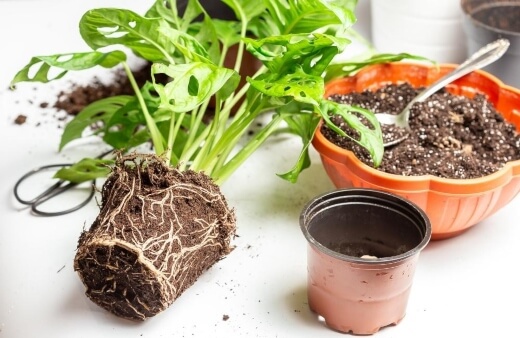
You can now transfer the cutting to a new pot with fresh potting soil. You can use a large kitchen spoon to scoop out the rooted cutting and to transfer it to a new pot.
6. Moving new plants outdoors
When it's time to move the new Monstera adansonii plants outdoors, you need to gradually introduce them to outdoor conditions. This process is called hardening off. It involves slowly giving the plant more exposure to the outdoors over a period of one to two weeks.
You can put the plants outside for one to two hours the first few days and gradually increase the time. Place plants outdoors during the warmer part of the day and bring them back indoors during the cool nights.
Over time, your Monstera adansonii plant will adjust to the outdoor environment and when nighttime temperatures are at 10 degrees Celsius or warmer all night, you can then safely plant your cuttings in the garden.
Perhaps your garden turf needs some love or updating? Have a look at our guide for the best grass types in Australia.
Monstera adansonii Pests, Diseases and Problems
This plant may have to deal with some common houseplant pests. These include:
- Mealybugs
- Spider mites
- Scale
- Whitefly
The good news is that these pests are not deadly and can be treated with a nontoxic insecticide or neem oil. Spray every few days to kill off adults and eggs.
Another option is to sprinkle diatomaceous earth on the leaves. Small populations of scale insects can be removed using a cotton swab dipped in rubbing alcohol.
You can also keep an eye out for common diseases. These include:
- Root rot – rinse the affected roots under running water, and then use sharp scissors to trim affected roots.
- Rust – remove and destroy all affected parts, then spray with neem oil.
- Powdery mildew – remove affected part of the plant and treat with a sulphur-containing organic fungicide.
- Blight – remove infected parts of the plant, treat with fungicide, and add mulch to the soil.
If your Monstera adansonii is growing indoors and having some environmental issues, here are some common issues that might come up.
Yellow leaves – this is usually a result of overwatering. Make sure your plant is never sitting in soggy soil and let it slightly dry out between each watering.
Black leaves - black marks on the leaves could be leaf burn from direct sunlight. Check your plant throughout the day and make sure direct sun isn’t on it for long, especially strong afternoon sun.
Swiss Cheese Plant FAQs
What does the Monstera symbolise?
In eastern culture, monstera plants symbolise longevity, respect, and honour.
Why do Monstera adansonii have holes?
The holes allow the leaves to spread out without needing to use up energy and nutrients growing extra leaf area to fill this space.
Does Monstera adansonii have any medicinal properties?
The whole plant is used as a remedy for boils, where the crushed plant is applied topically. The stem is used for scorpion and snake bites, and the sap is sometimes used to treat necrotic ulcers. The leaves are used as a treatment for abcesses and pain.
Looking for more plants to grow indoors? Rhaphidophora tetrasperma or more commonly known as Mini Monstera might be the plant for you. Learn more about this plant in our Mini Monstera growing guide. A small hint, it is really not a monstera so read on for more.
Immerse Your Space with the Captivating Charm of Monstera adansonii
Add some interest to your home and garden with a Monstera adansonii plant. Heart-shaped leaves and great height make it an attractive guest. The varieties only have some small differences, but are all lovely in their own way.
Whether you prop up a potted Monstera on a bookshelf, fill up your bathroom with a few to create a serene ‘green’ room, or decorate your outdoor garden beds with some Swiss cheese inspiration, you’ll find Monstera adansonii a great companion.
Published on March 29, 2022 by Maisie Blevins
Last Updated on February 26, 2024

