Propagating Monstera is a really great way to save money on houseplants, and a brilliant experiment to teach kids (and adults) about the science of plants. Monstera, or the Swiss Cheese Plant, is one of the easiest houseplants to propagate, making the most of your indoor greenery.
I’ve been propagating Monstera as gifts for friends and family for years (I’m pretty sure I’ve given someone the same gift at least three times, but he still seems to appreciate it).
I hope this how to propagate Monstera guide helps you double your stock, whether you just want a few more plants around the house, or the full drama of a green wall.
More...
What is Monstera?
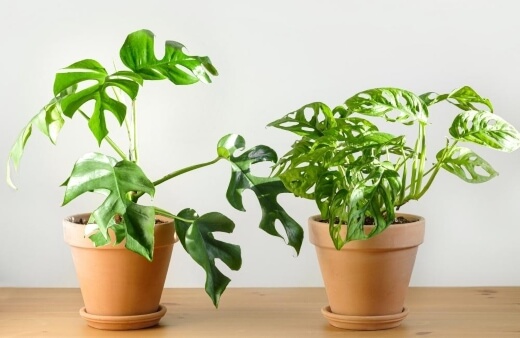
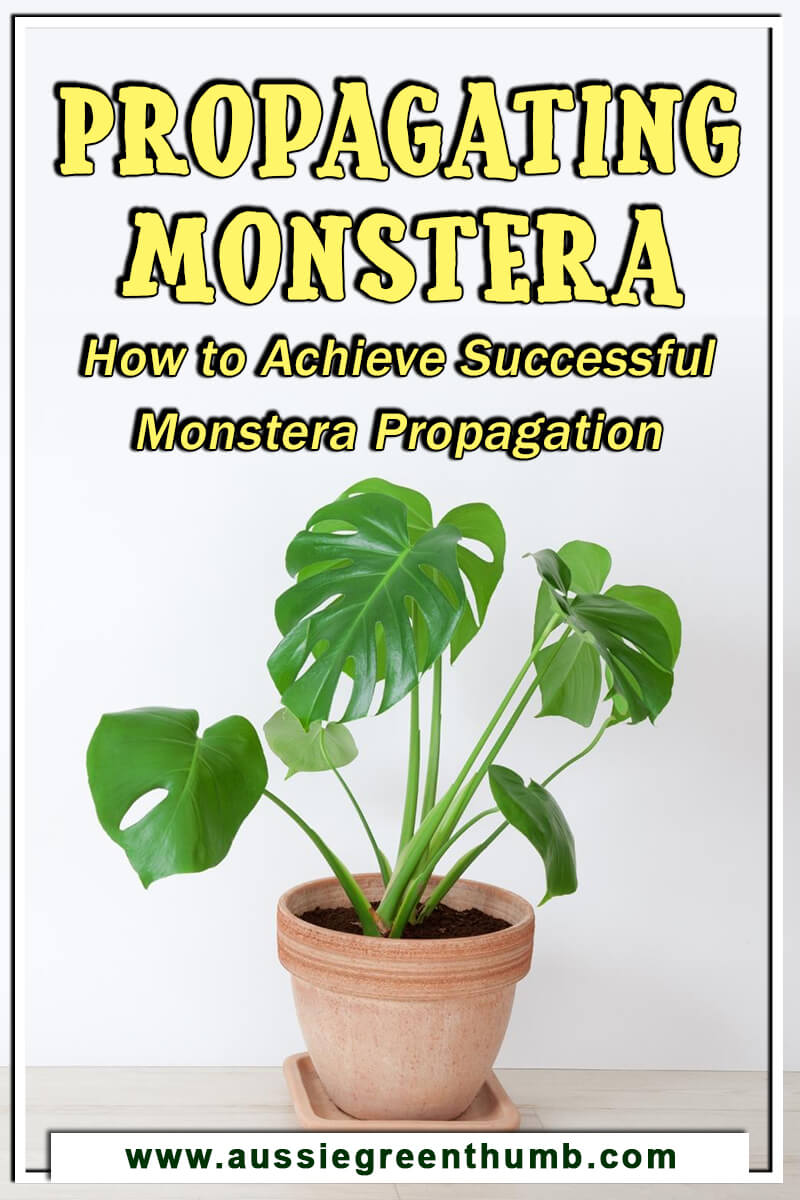
Monstera are a tall, epiphytic, tropical plant, commonly grown as houseplants all over the world. Their leaves have distinctive holes dotted around their edge, that in older leaves can have more area than the leaf itself, giving it its name – Swiss Cheese Plant.
As epiphytes, they are often sold attached to moss poles, as their aerial roots will attach to the natural fibres and support the plant, making it an incredibly easy houseplant to look after.
Understanding the Parts of Monstera plants
Every part of a Monstera plays a role in its growth, and every part of the Monstera is important for cuttings. From their leaves to their roots, you need to understand what role each part of the plant plays in helping it develop new roots, as well as how to make the most of the parent plant.
- Monstera Leaf. Monstera leaves are huge, impactful heart shaped leaves, with fenestrations (holes) that grow from within the leaf, eventually reaching the edges and creating the perforated effect we know and love.
Each leaf has a large midrib (the central vein), which leads from petioles that are often mistaken for a stem due to how chucky they are. - Petiole. The petiole is the limb of the plant that connects the stem to the leaf. On a Monstera these can grow to over an inch thick in the wild, but on most houseplants are around 1cm when mature.
They carry water to the leaf, and are an important measure when taking Monstera cuttings as a healthy petiole that doesn’t flop with the weight of the leaf is a great guide to its ability to hold water. - Node. The node is the part of the plant where the stem meets the leaf. Before new leaves appear, white rings on the stem indicate points where new leaves could grow.
Cutting to a node dictates where the new leaves will grow, so as well as cutting for propagation, think about the shape of the original plant, as cutting to a node will encourage new leaves. - Internode (Stem). Stems are in fact made of many internodes and you should notice a wavy shape to your plant.
This is because each internode, grows between leaves, and rather than splitting and getting thinner as the plant gets taller (like most trees) they grow at consistent thicknesses, and can either split into two internodes, hosting a new run of leaves, or grow as one vine, with a single run of leaves.
Where you cut the internode it is likely to develop a new internode, and a petiole (accompanied by a leaf). - Monstera Aerial Root. Monstera are partial epiphytes, growing with the support of a host plant. They don’t cause any damage to their hosts, and in many circumstances it can be a mutually beneficial relationship.
We mimic their natural habitat indoors by supporting them with moss poles, which they can cling to as they get taller and taller.
Monstera aerial roots aren’t essential to the plant’s growth, and can be pruned if you don’t like their appearance, but they do take in some water from humidity.
They are especially useful for one propagation technique we will discuss later in this article.
Ways to Propagating Monstera
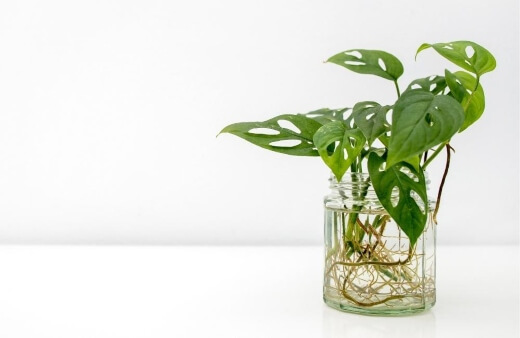
How to Propagate Monstera in Water
To propagate Monstera in water, it is absolutely essential that you use rain water or filtered tap water. The chemicals in tap water can kill young cuttings which are not even remotely built to withstand the additives in our water system.
Just like your tools, your water should be clean. Monstera takes 14-21 days to form its first new roots, and as long as you change the water 1-2 times per week, you can keep them in a vase or large jar for up to three months before potting them on.
Alternatively, after around 2 months, you can pot them straight into potting compost with a good mix of compost and bark, but there’s no need to rush, and personally, I think there is a great beauty in watching the roots as they establish themselves, and feed the abundance of new leaves that start to grow as soon as the plant is happy.
How to Propagate Swiss Cheese Plant in soil
To propagate Monstera in soil, follow the steps above, but pay more attention to watering. The advantage of propagating directly in soil is that your Monstera cutting will grow true soil roots from the start, and you won’t need to pot on for at least a year.
The disadvantage is that it is much more likely to rot. The water roots grown in the water propagation method are an adaptation shared by many houseplants.
They grow wispy roots that are perfectly adapted to water, and only rot if the water is left to go stagnant. Soil propagation requires regular watering, but not overwatering which can be a tricky balance.
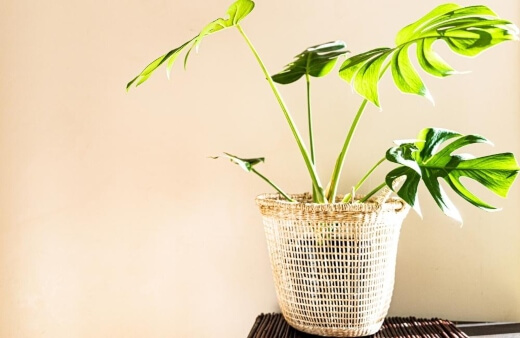
Air Layering Monstera (Propagating Monstera without soil or water)
Air layering is a genuine hack for propagating soft stemmed houseplants and makes for much stronger plants. Air layering Monstera basically tricks the plant into thinking it has found soil half way up its stem.
By wrapping sphagnum moss around a cut in the stem, and keeping it moist, the plant will put out true roots rather than aerial roots in that place.
- First, locate a node on the stem or internode that you want to form the base of the new plant, aiming for two leaves above the cut.
- Using a clean knife, slice about 2-3mm into the stem (just through the outer skin).
- Wrap the cut in a golf ball sized clump of wet sphagnum moss (using rainwater), and secure it in place with garden twine.
- Wrap the clump of moss loosely in cling wrap, tight enough that it stays in place, but loose enough that it doesn’t restrict growth.
- Twice a week, remove the plastic wrapping and mist with rain water.
- Keep watering like this for the next two months, until the roots are around an inch long (it’s ok to unwrap it every so often and inspect it carefully).
- When the roots are an inch long, remove the plastic, cut below the new roots, and plant the whole thing (moss and all) straight into a pot.
How to Take Rooted Cuttings from Monstera
Firstly, make sure your plant is ready to be pruned. Taking cuttings from a young plant won’t be successful, and you might damage your original Monstera while taking cuttings.
Make sure your plant is at least 1m tall, with internodes (stems) that are at least 1cm thick. One way to be certain is if the stem you plan on cutting has aerial roots.
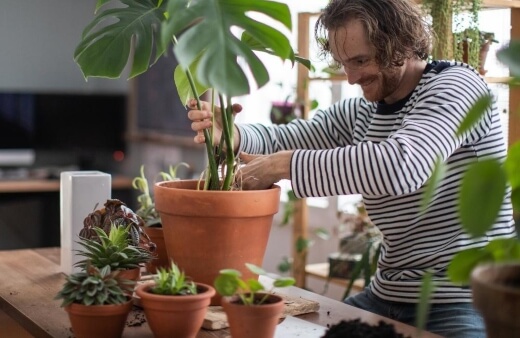
If there are roots appearing from the stem, you can 100% take cuttings, but if not, it doesn’t mean it won’t work, it’s just slightly less developed.
1. Plan the Cuttings
First, decide where you’re going to cut. It might sound obvious, but remember that where you cut decides the shape of the parent plant. If you cut too high, you risk a top-heavy plant. If you cut too low, you risk a lopsided plant.
Cutting from new growth in the centre of the plant will help maintain the shape, and also bush it out providing more stability.
Where possible, cut to a node so you know that the plant will create new leaves from the cut point, and try to include an aerial root on the cutting as this will help provide water to the cutting while true roots develop.
2. Making the Cuts
Using a sharp pair of clean scissors or secateurs, cut the Monstera at a 45-degree angle. Less than 45 degrees, and it has less space to take on water.
More than 45 degrees, and it is more likely to rot as too much Cortex (the plant’s equivalent to our muscles, making up the bulk of the stem) is exposed to disease and infection.
3. Remove Sheathing
Before rooting your Monstera cutting, remove any dry sheathing as it is likely to rot away in water. The sheathing is the part of the plant that new leaves emerge from, and is essentially an old split node.
On the parent plant, they will drop off when they are ready, but any messy brown material on the cutting should be removed.
4. Trim Aerial Roots
For propagating swiss cheese plant in water or soil, trim aerial roots by half. The trimming will promote new root growth.
Some gardeners advise cutting the root off entirely, but I prefer to leave some root in place to help feed the pant in the first few days. If you plan on using tap water, cut the full aerial root off.
Conditions for Successful Monstera Propagation
Best season to take a cutting
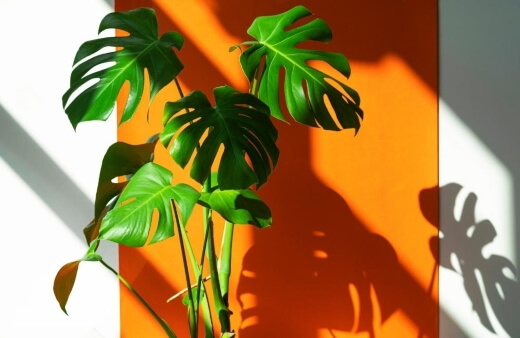
Always propagate Monstera in spring or summer while the plant is actively growing. Propagating in winter can lead to two things: roots not growing due to dormancy; the parent plant not healing the cut.
Swiss Cheese Plant Light & heat conditions
Propagate Monstera in bright, but indirect light, similar to the parent plant. Keeping Monstera at the higher end of their preferred temperatures will help too. The heat will promote faster growth, but slowly reducing temperatures after rooting will help with stronger slower growth, once the initial roots have formed.
Watering Monstera cuttings
When watering Monstera, particularly when propagating from water alone, it is essential to use rain water, or filtered tap water. Normal tap water is far too harsh for young plants, and while it is possible to propagate Monstera in tap water, it is not advised and results will be unreliable.
While the plant is rooting, mist it at least once a week, or keep it in a warm bathroom. Humidity is essential, as like any rooted cutting, its biggest risk is water loss through its leaves (transpiration).
Misting keeps the leaves healthy, and reduces demands on the young root system. As with other watering, rainwater, or filtered water is best.
Soil requirements for cuttings and young plants
Whether you are propagating in soil, or potting into soil after water or air propagation, it is best to add perlite and orchid bark to the potting mix to make sure it is well drained, especially in its early days, while the young roots are more susceptible to rot.
(See our guide to growing Monstera deliciosa and its cultivar, Thai Constellation Monstera for onward growth advice)
Tools for Propagating Swiss cheese Plant
Depending on how you plan to propagate, there are a few things you’ll need to buy. For water propagation, all you need is a pair of secateurs and a vase, for soil you’ll need a good growing medium.
For air propagation, other than the sphagnum moss, you probably have everything in your kitchen already, but we’ve compiled a few links to useful sites where you can buy the basics:
Tools for Monstera Propagation in Water
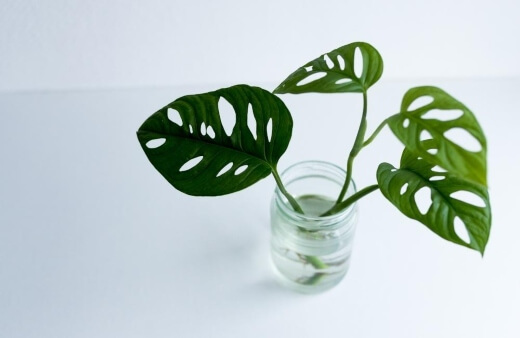
- Vase. It seems obvious, but you’ll need a decent sized vase for the water propagation. Don’t submerge the entire plant, just put enough water in the base to cover the node that will form the roots, and add water as the roots grow bigger.
A square sided vase is ideal as it supports the young Monstera cuttings from all angles while it grows, and the roots are less likely to grow pot bound when potting on later. - Secateurs. Regardless of what Monstera propagation method you choose, you’ll need a good pair of secateurs.
It’s generally good practice to keep a pair of houseplant secateurs separate to your garden pair to avoid bringing any diseases indoors. Read our best secateurs buying guide here.
Tools for Monstera Propagation in Soil
- Potting mix. Find a decent peat free potting mix in your local garden centre, ideally a houseplant mix, but a regular peat free compost, with some bark and vermiculite added would do the trick. For your convenience, we've reviewed the best potting mix available in Australia.
Tools for Air Monstera Propagation
- Sphagnum moss. The only extra thing you’ll need for air propagating Monstera is sphagnum moss. You probably already have cling wrap, or a plastic bag in the kitchen, and twine or garden string can be replaced by yarn or cotton string. Sphagnum moss is an incredible water holding material, grown sustainably for garden use.
(We previously endorsed peat/sphagnum moss. Yet, in consideration of its environmental repercussions, we've changed our recommendations to prioritize more sustainable alternatives that yield equivalent or superior results. Refer to our guide for an in-depth look at peat moss and its substitutes.)
Common Problems When Propagating Monstera (and How to Avoid Them)
There are only two real common problems faced by Monstera cuttings, bugs and burns. Neither are fatal, but need attention as soon as possible. Our quick guide to both below should help you avoid them and fix them if they do happen.
How to avoid root rot when propagating Monstera
Root rot in Monstera is a fungal infection, and the only way to avoid it is to avoid over watering. For cuttings and established plants, never water when the top 5cm of soil are moist. If the top 5cm of soil are dry to touch (test by dipping your finger into the soil), then it needs a drink, otherwise leave it alone.
One reason root rot develops, even if you follow the above advice, is incorrect light and heat. Funguses develop in dark, damp conditions, so placing your cuttings in warm but indirect sunny spots should help give you a regular watering routine, and minimise the risk of root rot in your cuttings.
The easiest way to avoid root rot is to stick to propagating Monstera in water. The roots adapt quickly to submersion and grow roots that are resilient and immune to root rot, but you still need to water properly when it is potted up after propagation.
How to avoid leaf burn in Monstera cuttings
Monstera cuttings are young plants, and just as delicate as any other seedling or cutting, despite their size. Keeping away from direct baking sunlight will protect them from leaf burn, which can not only damage the look of your houseplant cutting, but also stop it photosynthesising properly.
Simply keep them out of direct sunlight, but don’t starve them of light entirely. They might like dappled shade but that doesn’t mean they’ll grow in a cupboard.
Monstera Swiss Cheese Plant FAQs
Is soil or water better for propagating Monstera?
There are two traditional ways to propagate Monstera, and both have almost exactly the same process. I much prefer to propagate my Monstera cuttings in rainwater, as propagating in soil tends to be less reliable, and can have more complications, including the rather illogical root rot, which in practice is more likely in soil than water.
Can I use tap water to propagate Monstera?
No, it is not advised to use un-filtered tap water on any houseplants, especially not Monstera cuttings.
Is soil or water better for propagating Monstera?
Propagating Monstera in soil can simplify the process and produce stronger plants, but has higher risks of disease. Propagating in water is more reliable, but has more steps.
Neither is better or worse, but read above to help you make an informed decision.
What is a rooted cutting?
Plants have the ability to change their cells, so rather than healing like-for-like as human skin does when we have a cut, they can be encouraged to grow roots from their stems when they sense a less to their water supply.
Strawberries do this naturally by crawling across the ground and making roots from their stems, and Monstera will naturally root from their stems when cut and given water.
What is an aerial root?
Aerial roots are primarily anchoring. In some places they also feed from humidity to support the plant’s water intake.
Start Propagating Monstera in Your Home
The Swiss Cheese Plant is one of the most exciting plants for children to learn from, and one of the most impactful plants you can grow in your home.
Remember that propagating Monstera requires light, water and heat. Getting the mix of those three things right is all you need to make a success of it.
Whatever your reason for wanting to propagate Monstera, it’s got to be worth a go! I hope I’ve managed to convince you that propagating Monstera from cuttings is a great and straightforward way to make new plants for free.
Published on December 11, 2021 by Gary Clarke
Last Updated on February 11, 2024


